1
26
Let's create a wiki! (self.balconygardening)
submitted 1 month ago by toaster to c/balconygardening

Hello friends!

One of our admins, @poVoq, has set up a wiki in his spare time for slrpnk.net. For the time being, editing is limited to moderators-only. However, @poVoq has also created an EtherPad that we can use to work together on it!

I went ahead and started a /c/BalconyGardening wiki but we need your ideas, knowledge, and experience to make it a helpful addition to the community. So, I am proposing that we use an Etherpad with the name BalconyWiki to collaborate on additions and improvements to the wiki. I'd ask that you please add your Lemmy username at the top-right of etherpad when editing to keep it accountable. :)

Any and all suggestions are welcome, as long as they fit within the BalconyGardening theme. I would love it if we could set up a starting guide for those who want to set up their first balcony garden!

Here are some ideas of sections we can develop:

  • Getting Started - for those new to balcony gardening
  • No Balcony? No Problem! - other ways community members can garden
  • Common Issues - and solutions!
  • Recommended Crops - to offset food costs, to resist pests, for high-yield to share with others, etc.
  • DIY/Upcycled Solutions - such as re-using plastic waste for planters

I hope you're all enjoying your day and I can't wait to hear your ideas!

2
50
submitted 2 days ago* (last edited 2 days ago) by SoySaucePrinterInk@sh.itjust.works to c/balconygardening

They've been surprisingly easy. These Yukon gold potatoes grow fast!

Only 1 week ago:

3
36
submitted 2 weeks ago by fossilesque@mander.xyz to c/balconygardening
4
31
submitted 3 weeks ago by JacobCoffinWrites to c/balconygardening

My SO and I have been planning to start a mushroom garden for awhile now. You can buy these kits with mushroom spawn in peg form, and you just drill holes in a log and hammer them in. I'd had big dreams of going along the bike path, adding them to all the dead logs there, until I learned how important it is to properly and thoroughly inoculate freshly-cut logs in order to make sure your fungus of choice is properly established and safe from the competition. This was a bit of a problem as we live in an apartment and the circumstances where I'd cut down a healthy tree are seriously slim, and don't include providing food for mushrooms.

But one of the perks of having a big family is that one of them is always doing yard work, and when one of their birch trees bought it in a recent snowstorm, I was ready to jump in and claim a few pieces. They were happy to get rid of it; they feel grey birch burns poorly - and I was happy to take some because it supposedly turns beautifully on the lathe and it's a suitable medium for shiitake mushrooms.

As an aside, I prepped one thinner piece for use on the lathe. I clamped it to the table and used a draw knife (and a regular carving knife) to strip off the bark, before painting the ends with wax. This helps prevent cracking and checking due to uneven drying from the ends, and spalting/mold/rot from moisture under the bark. Assuming it does as well as the maple and oak I've done previously, it'll be ready to use in a year or two.

Okay, back on to the mushrooms! We bought our kit from a company called Northspore who provided pretty thorough guidance. Their instructions said that logs 4-6" thick and 3-4' long would be good, and one of ours fit that nicely. The instructions also said our log had been cut at about the worst time, after the buds on the branches had begun to swell. So... sorry, mushrooms! Hopefully you'll figure out how to make that work.

They provided a drill bit, instructions on how deep to drill (1") and where (in staggered rows, each hole 4" apart, 2" from their neighboring rows, so it makes diamond patterns). I grabbed a drill and measuring tape and set about drilling all the holes.

(I also cut a couple risers out of a dead log to keep the mushroom log off the ground)

Once all the holes were drilled, we started hammering in the pegs with a rubber mallet.

I don't have great photos of this step (it was a lot of fun) but here's one of the log after we got them all driven in.

The last step was to seal all the pegs in place with melted wax. The kit provided powdered wax and a little fuzzball on a wire handle for applying it. We set up a double boiler on a hotplate and melted the wax while we added the pegs.

We hid our mushroom log in a shady forested spot near the apartment fence. If all goes well, I'll be back with mushroom pictures sometime next year.

5
33
submitted 3 weeks ago* (last edited 3 weeks ago) by SoySaucePrinterInk@sh.itjust.works to c/balconygardening

Like hole size, placement, etc?

This is what I have in mind. Let me know what you think!

Edit: it's a 215mm (8.5") pot that I will be planting letteuce in

6
18
submitted 1 month ago* (last edited 1 month ago) by toaster to c/balconygardening

The article is available in both English and Vietnamese.

7
46
submitted 1 month ago by toaster to c/balconygardening
8
13
submitted 1 month ago by solbear to c/balconygardening

I'm launching a little balcony gardening project that involves water reservoirs. I don't have much experience with these kinds of projects, so I need a little help.

Due to some dimensional constraints, I will need two regular plastic containers (your typical storage containers), and I was hoping to get away with only including a way to fill one of them. That means I will need to connect it to the other in some way. So I thought I would just drill a hole in both of them and stick a pipe between them.

  1. What is the best way to drill holes in plastic without risking any splitting?
  2. How do I make sure that the holes are water sealed afterwards? Can I glue around the pipe and plastic box?
9
6
How to Get Your Apartment Off the Grid (solar.lowtechmagazine.com)
submitted 1 month ago by toaster to c/balconygardening

Although slightly off-topic, I decided to post this since it applies to balcony gardens and indoor small-scale gardens alike.

10
88
submitted 1 month ago by toaster to c/balconygardening
11
70
submitted 1 month ago by toaster to c/balconygardening
12
48
Growing a snack bar on the deck (live.staticflickr.com)
submitted 1 month ago by toaster to c/balconygardening
13
12

Does anyone have a good method for dealing with plant debris? I'm thinking about things like stems from plants, or even just pruned bits. I don't have a place to compost effectively. My normal method for woody debris is to cut it to little pieces with garden shears, and for leafy stuff to just let it dry out and crunch it up. After, I'll just stick it in the bottom of a pot that I'm going to put a new plant in. It gets a little broken down, but not as well as I'd like, and I can only do it when I have a new plant to pot, so I end up with a random pile of stuff that sits around for a while.

I wish I had like a tiny woodchipper or something.

14
40
submitted 2 months ago by Kornblumenratte@feddit.de to c/balconygardening
15
42
submitted 2 months ago* (last edited 2 months ago) by SoySaucePrinterInk@sh.itjust.works to c/balconygardening

I started in mid-November and have already had 5 harvests! The outrageous red and oak leaf letteuce have done the best. None of the black seeded Simpson survived. They're all leggy because of the distance to my grow lights but one of these days I'll get around to setting up a way to drop them down.

At this point, I'm getting about 1 cut and come again harvest per week from all 4 plants which is far more than I expected. Once the weather warms up, I'd like to chop them and start new seedlings for outside on the balcony. I have been averaging about 14-15kWh, or 2¢ per month in electricity costs.

https://pixelfed.de/p/SoySaucePrinterInk/667557572274690054

https://pixelfed.de/p/SoySaucePrinterInk/667557630245529612

https://pixelfed.de/p/SoySaucePrinterInk/667557686452770836

https://pixelfed.de/p/SoySaucePrinterInk/667557735601760281

https://pixelfed.de/p/SoySaucePrinterInk/667557797835868193

https://pixelfed.de/p/SoySaucePrinterInk/667557858406889514

16
51

Some years ago, I was learning brussels sprouts and had a few extra starts. I gave most away, but one I planted in a pot for goofs. It stuck around for a few seasons, even surviving a bolt. So, it became Brusselfriend. Three years later it finally bolted and killed itself. A few of the seeds grew into new sprouts and this one survived the whole season. So, PoB is now headed into their second season. If it bolts this year, hopefully I can keep the line going

17
23
submitted 3 months ago by Kornblumenratte@feddit.de to c/balconygardening
18
29
submitted 3 months ago by toaster to c/balconygardening
19
38

..hope this is still on topic.

I've had this lamp collecting dust for about ten years with the plan to repair it at some point. Now i wanted to build a bird feeder for my balcony and remembered the lamp and thought i'd try this. I love it and the birds seem to love it too. Or maybe it's the nuts they love.

Can't wait for the season to begin so i can grow some plants too again.

20
39
submitted 4 months ago* (last edited 4 months ago) by vsis@feddit.cl to c/balconygardening

So this year I grew some tomatoes for the first time. They were small but tasty.

In November they began to die, so I cut all dry/dead parts and they got better. But they still look very unhealthy.

Do tomatoes survive the winter? Does it make sense to keep watering them? Like once a week, when it doesn't rain.

Or maybe I should let them die and seed again next spring?

(Ignore the dog. She refuses to let me alone in the balcony lol)

21
10

I've had irrigation running on my porch for a few years now, so I figured it was worth making a post about how it works, and the pros and cons of it. I'm by no means an expert.

Pros:

  • you don't have to worry about plants drying out on a hot weekend while you are out of town.
  • you can grow plants in smaller containers than you'd otherwise be able to
  • you can put plants in spots that would be annoying to water by hand

Cons:

  • it's a lot of plastic. Typically the tubing is polyethylene or vinyl.
  • you need to drain it in the winter
  • it takes some time to figure out how to get the right amount of water to your plants
  • the system that I have (and most off-the-shelf systems, I think) is not compatible with a rain barrel.
  • you need a hose spigot

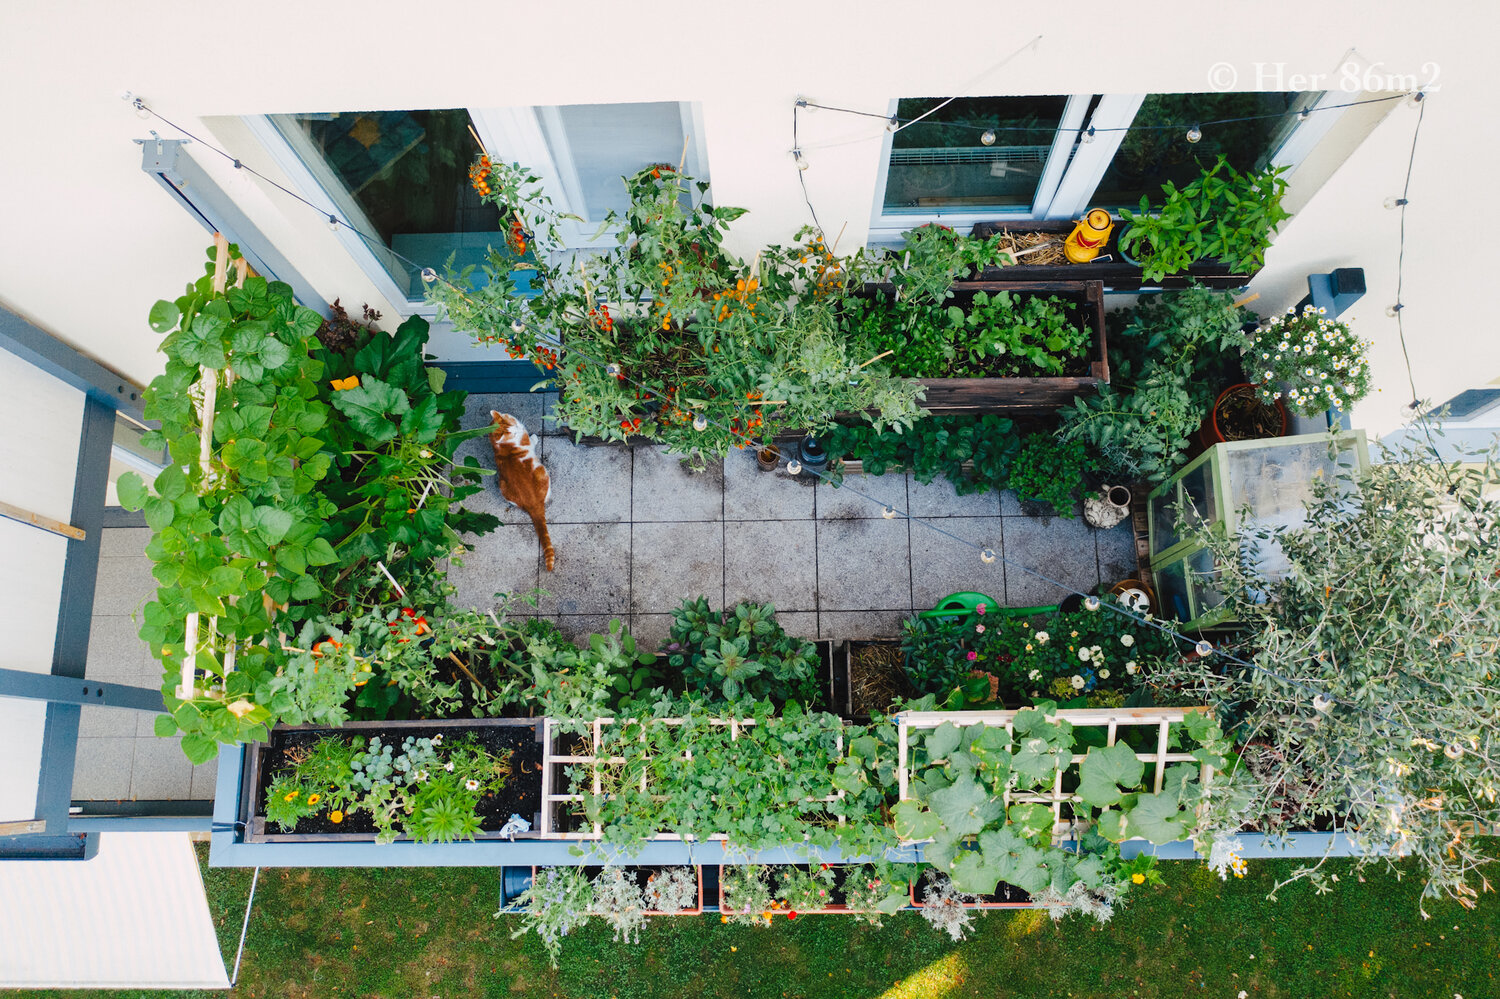
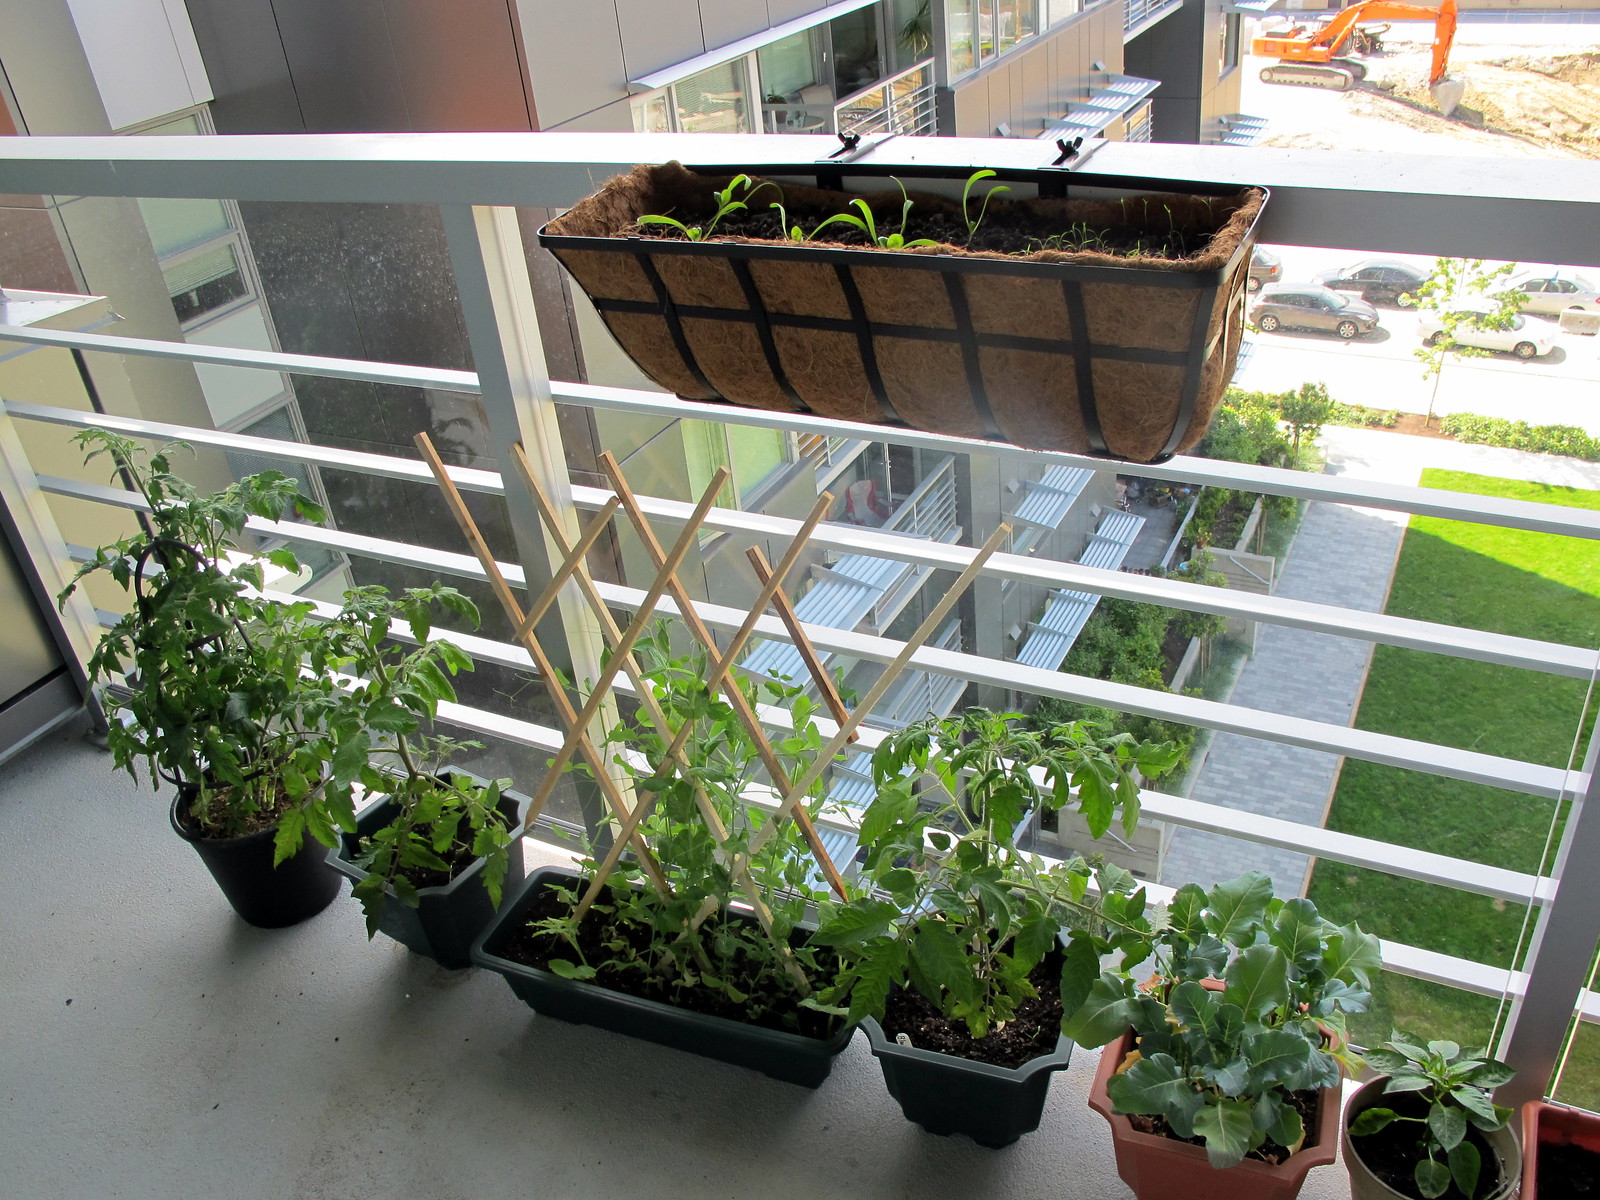
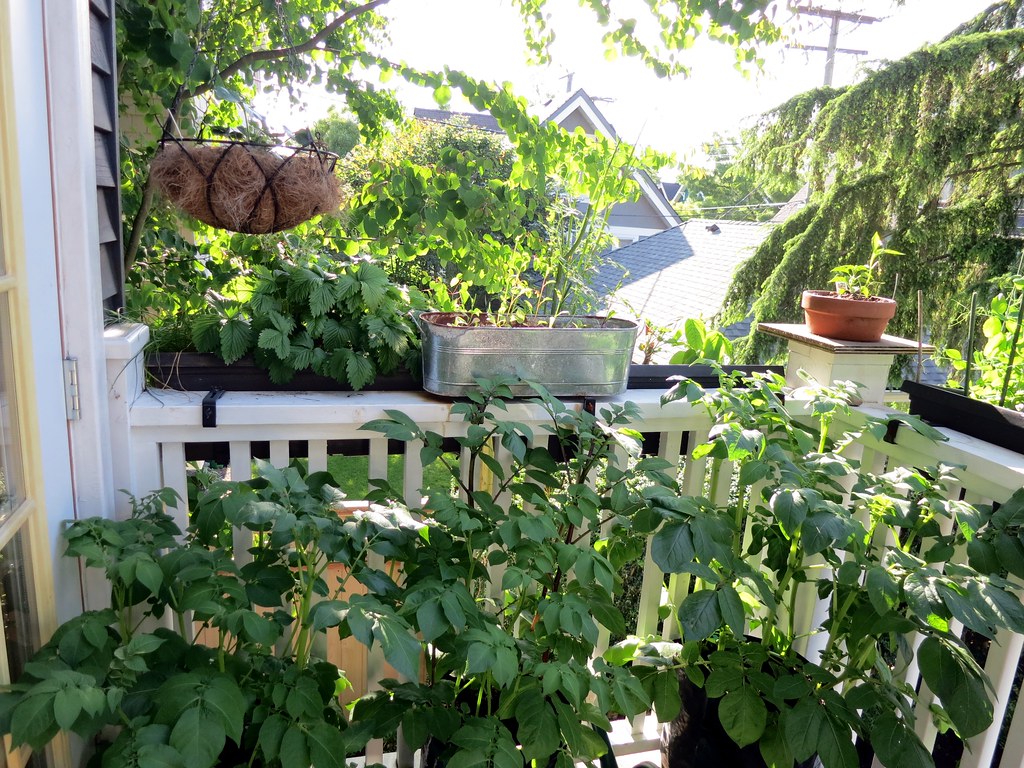
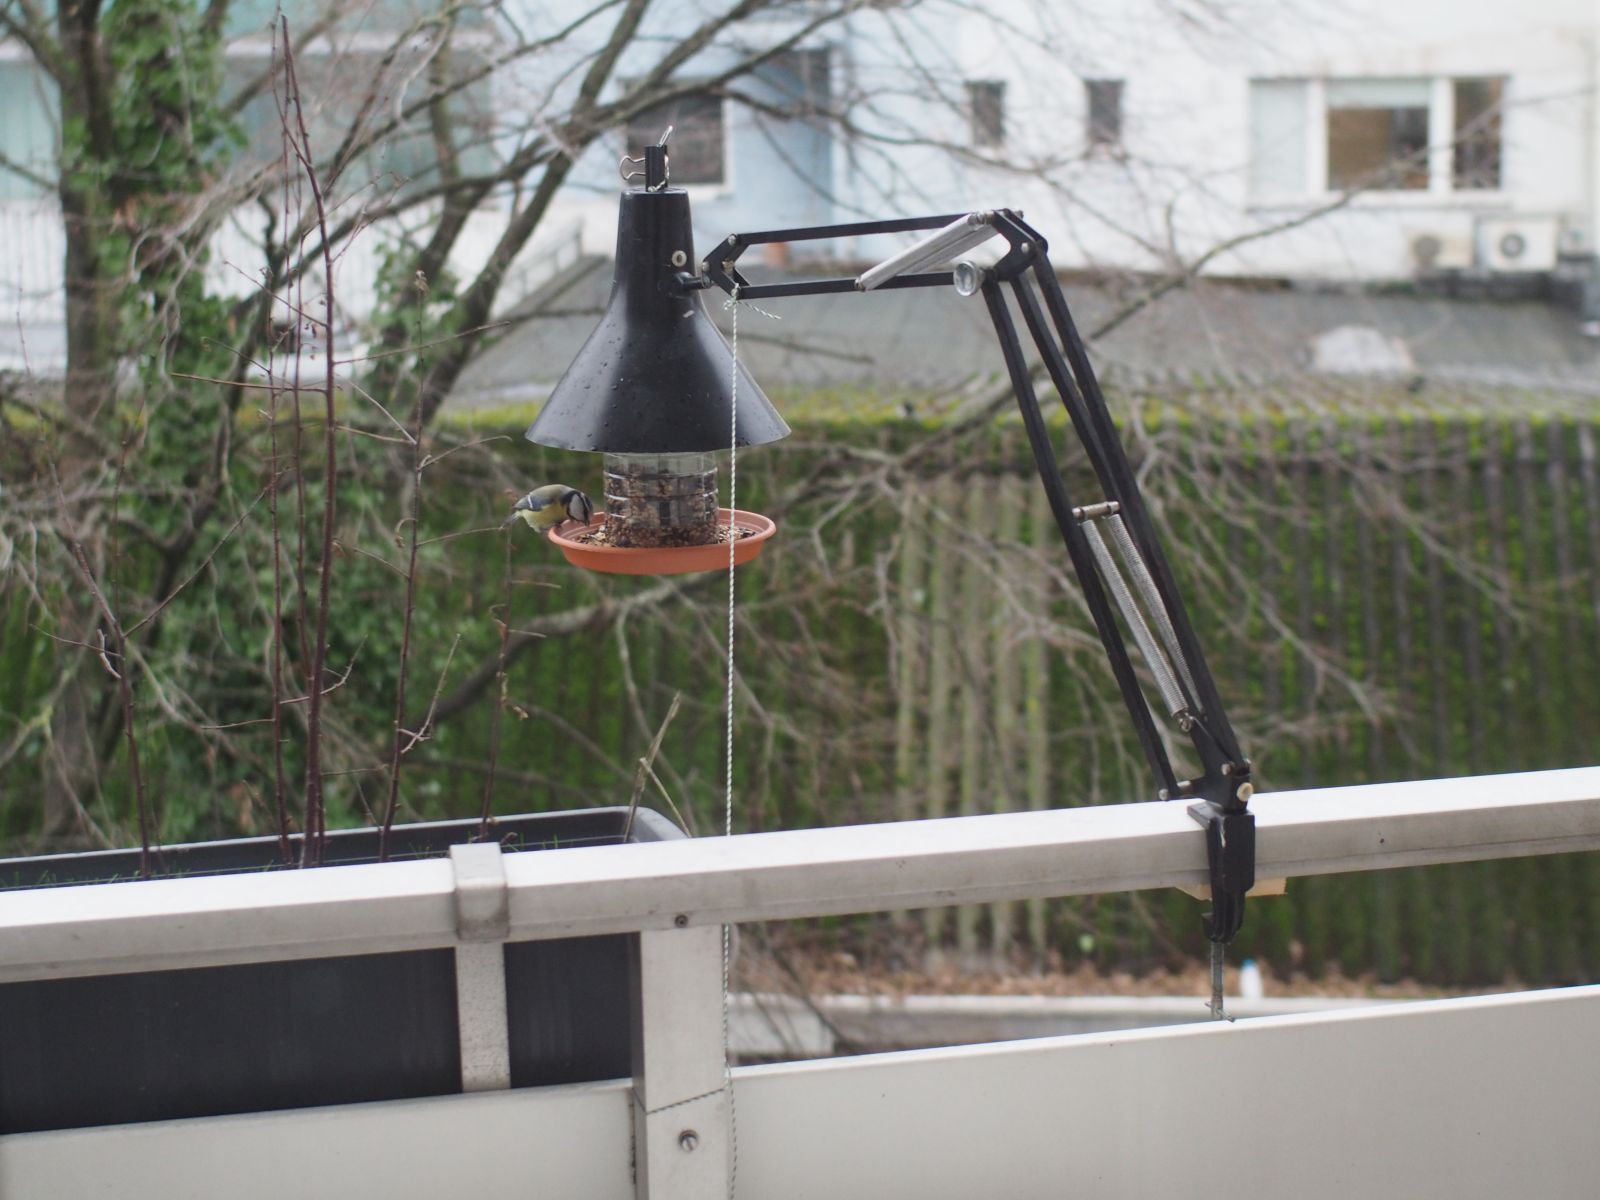
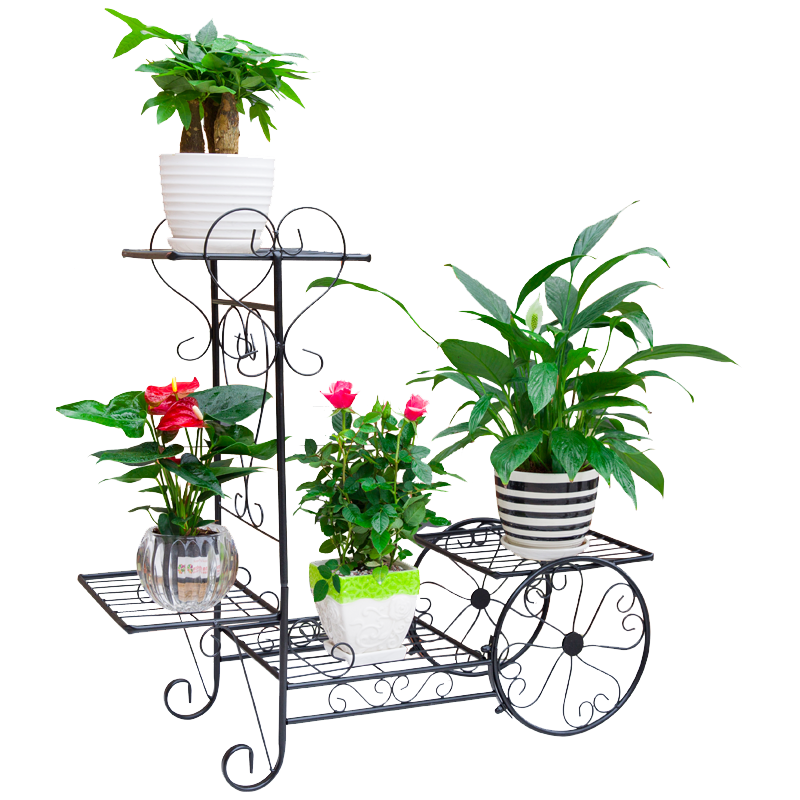
I have a porch with a lot of plants. My roof hangs over the porch, so I don't get any rain on my plants, and they are completely dependent on watering. This would typically work fine all throughout the spring, but then once summer comes, and the plants need more water, I'd inevitably lose some plants while I'm out of town. I can have friends water plants like my indoor plants that maybe need to be watered once a week, but I'm not going to ask someone to water 30 outdoor plants twice a day.

There are a few different common types of automatic irrigation systems. The most common you've probably seen is little sprinklers. Those are not ideal for containerized plants because you'd waste a lot of water, and get your porch/balcony really wet. Theres also things like soaker hoses which arent useful in our case. The type that I have, and recommend, is drip irrigation. It does exactly what it sounds like and drips water right where you want it.

There's two types of drip irrigation, and two subcategories of each. Individual emitters or emitter tubing, and each of those are available as simple emitters or pressure compensating. Individual emitters are just single droppers, and tubing is what it sounds like, a tube with a bunch of holes in it at regular intervals. The single droppers come in different sizes for different flow rates, and they are generally more convenient than the emitter tubing unless you have a big planter bed or something where you put a loop of the tubing.

If you think about a tube with a bunch of holes in it, the most water will come out of the first hole, and each subsequent hole will put out less and less, until eventually, for a long enough tube, nothing would come out. The water that comes out would also be dependent on what your water pressure is. To use that kind of system, you have to be crafty about it, and maybe arange your plants or run the tubing from thirstiest to least thirsty. Pressure compensating emitters somewhat solve this problem by outputting the same amount of water, as long as the water is somewhere between the highest normal household water pressure and a pretty low pressure. I can tell you firsthand that they dont work perfectly, and you'll have some that put out water faster than others, but it's mostly okay. I actually rearranged my plants to just put the more needy ones under the fastest drippers.

One thing you need to always keep in mind is the pressure of the water. I have no clue what the actual numbers are for my water pressure is, so let's say it's at 10 where it comes out of the house. It then passes through the timer (more on that later), which might nock off 1 unit of pressure. The water then has to travel up a floor of my house to where my plants are. The change in height might nock off another unit, and the resistance of that long stretch of skinny tubing might nock off another. Now it's down to 7. Each emitter might take .5 units. Once we get down to 1 unit of pressure, there isn't enough to push past the mechanism inside of the emitters, so you can't have any plants past that point. If you follow the math, that gives me 12 emitters. Technically, the emitters dont reduce the pressure in the main tube, they reduce the flow, which leads to a corresponding drop in pressure. Obviously, bigger diameter tubing can carry more water and water more plants. This is all why a rain barrel would be hard to use, the pressure will be pretty low unless your barrel is up much higher than your plants. Any debris from the barrel could easily clog the drippers, too.

I have probably 30 plants on that system, but I was only able to have about 12 with a single line of irrigation tubing, which in the US, at least, is 1/4 inch diameter. I had to run 1/2 inch supply tubing, and I have branches off of that with the 1/4 inch tubing. You might think that tubing with 4 times the cross sectional area could carry 4 times the water, but it's actually way more than that because of math reasons I don't need to get into.

The emitters come in different sizes, rated in volume per hour. I have basically all one size because I can always put 2 in a bigger pot.

The last thing to mention is the timer. The cheapest ones just have analog dials for "water for x minutes every y hours or days". Figuring out how much water to give takes some time. To start, I would make sure all of the plants are not sitting in completely dry soil. Dry soil, especially with peat in it like lots of potting mix, does not absorb water well, so water might roll off to the side, and down the edge of the container and out the drain holes. Then I'd run the water till you see it start to drip out of the drain holes a lot indicating that the soil is full. Then I'd back it off from that point by a bit. My emitters are rated for 1/2 gallon per hour, and in the spring, with seedlings and cool weather, I might run them for 5 minutes every day or every other day. When it gets to the summer, I have my timer water twice a day, with 10 mi uses in the morning, and another 5 minutes during the heat of the day. I have a "smart" timer that lets me have slightly more complicated schedules like that. If you are a tech savvy person, you could set up automatic rain delay.

Lastly, I'm not trying to promote any particular products over others, but this is the kit I started with, and I've expanded from there. It seems like the components are all fairly standardized in size, at least in the US, so you can mix and match from different companies to problem.

Hope that helps some people, and feel free to ask any questions.

TL;DR, irrigation is pretty useful and easy to set up.

22
21
submitted 5 months ago by toaster to c/balconygardening
23
21
submitted 5 months ago* (last edited 5 months ago) by just_chill@jlai.lu to c/balconygardening

I have a balcony on raised ground floor with lots of trees hiding the sun. In the summer I get a few hours of direct sunlight, not enough to get anything flowering. I attempted growing tomatoes, and ended up with the tallest, most useless plant ever. Strawberries were also mostly leaves. There is a planter integrated on the balcony design though, which is nice.
Is there anything with fun leaves I could grow ? Preferably low maintenance and resistant to low temperatures. (not necessarely frost resistant, though better)

Edit: I also generally can't keep stuff that flowers, hence my request.

24
19
submitted 6 months ago by ProdigalFrog to c/balconygardening
25
67
submitted 6 months ago by toaster to c/balconygardening
view more: next ›

Balcony Gardening

447 readers
17 users here now

Welcome to c/BalconyGardening @ slrpnk.net!

A young community dedicated to balcony gardening.


About

Show off that vertical veggie garden 35 stories high. Or that bucket of potatoes you're proud of. Perhaps some fall mums that have been catching your eye through the sliding door into your living room. Any and all balcony gardens are welcome! Come and show your's off because we love to see it. :)

We also welcome ideas, tips, and items which have helped you in your balcony gardening journey. No balcony? Feel free to join in with your container garden with limited space too!


Notice Board

This is a work in progress, please don't mind the mess.


Resources

Sustainability:


Rules: (interactive)

We respect the basic rules of the SLRPNK server:

be constructive
there is no need of another internet space full of competition, negativity, rage etc.;
no bigotry
including racism, sexism, ableism, transphobia, homophobia or xenophobia;

be empathic
empathy is more rebellious than a middle finger;

no porn and no gore
let’s keep this place easy to manage;

no ads / spamming / flooding
we don’t want to buy/consume your commodified ideas;

occasional self-promotion
by active members is fine.


Related Communities


Sister Communities

Science and Research

Biology and Life Sciences

Plants & Gardening

Physical Sciences

Humanities and Social Sciences

Memes

founded 7 months ago
MODERATORS