1
DIY
2811 readers
2 users here now
Share your self-made stuff and half-baked projects here.
Also check out !diy@beehaw.org
There is also a related XMPP chat.
founded 2 years ago
MODERATORS
2
3
4
5
6
7
79
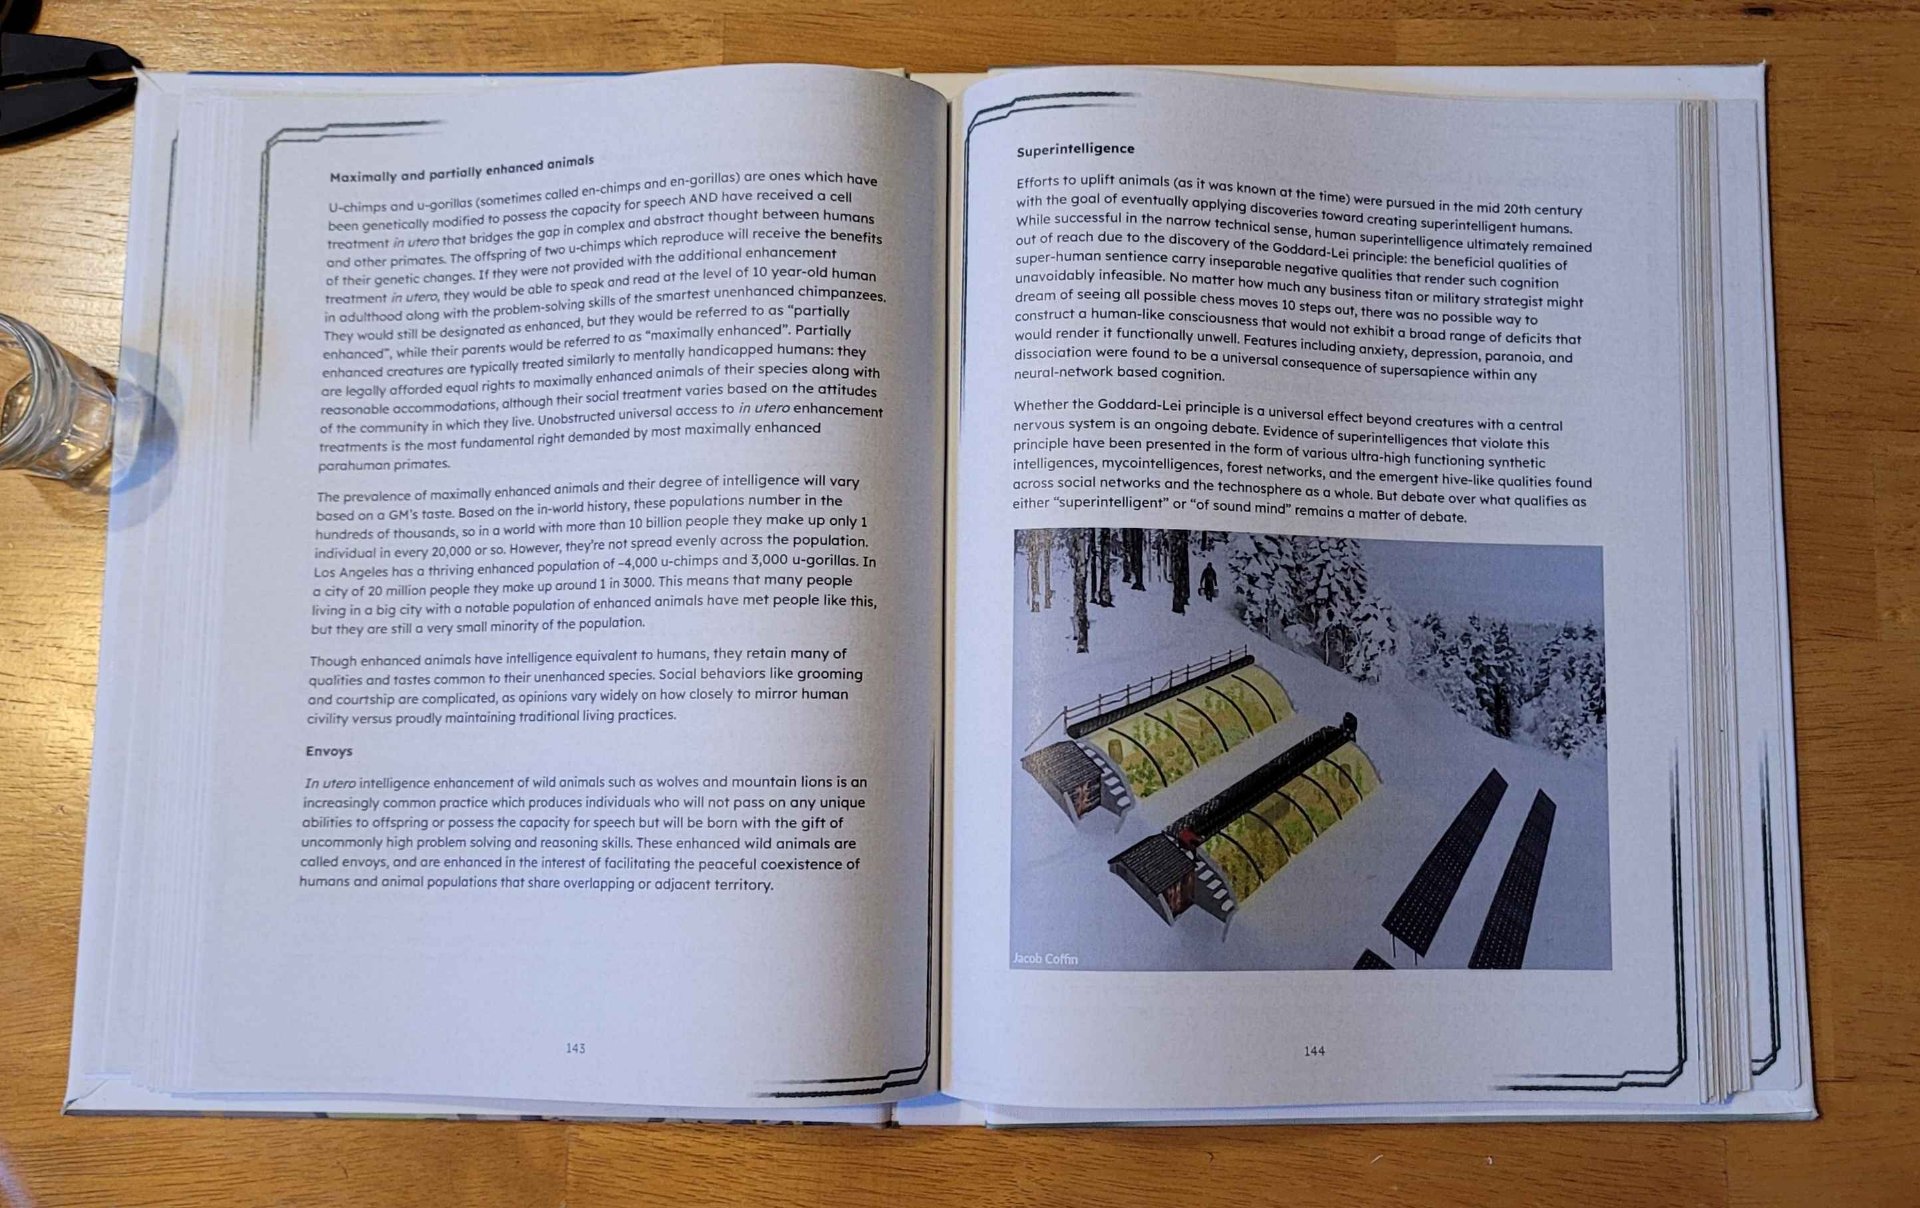
A few years ago I came across ultra-insulated high efficiency fridges, like this now discontinued SunFrost design.
Extra thick insulated walls are only part of the reason those are so efficient, but I figured, is it possible to at least get kinda close by adding extra insulation to the outside of a normal fridge? For many fridges, the answer is yes!
This old post from a 2012 eco-modding forum claims that, using just regular old styrofoam, they were able to cut down the energy use of their old energy-hog fridge from 274kWh per year down to 128kWh per year! (And they wrote a little guide on how they did it too).
Those sorta numbers kinda blew my mind. Not only is it possible to save more than half in yearly electricity costs, it also keeps an old fridge out of the landfill instead of being replaced with a modern, more efficient one. And bear in mind, that's just with styrofoam, which according to this handy little chart, has an R-Value of 4 per inch (High density EPS, i.e, Expanded Polystyrene, is what is usually referred to when we say styrofoam). Imagine what sort've numbers they could've got with proper insulating foam with an R-value of 10 or 13 per inch!
I was able to find another post on this topic over on reddit, which brings up the biggest downside of doing this modification: It's ugly.
I think that could be negated somewhat if you're creative and painted the foam (it'd probably look cool if you painted it white or black and sprayed a solarpunk logo with a stencil on it), but I suspect for most, this will be a dealbreaker for a main kitchen fridge (not to mention, you may not have enough clearance for the extra foam in your... Fridge slot?)
Still though, those power saving numbers are difficult to ignore, and I could see people going for this on secondary a garage fridge, like the dude in the second link did. It would have a dramatic effect in energy consumption if the ambient temperature around your fridge is usually pretty hot, as hotter outside temps dramatically increase energy useage.

Now you can't do this to any 'ol fridge or freezer. Some designs dissipate their heat through the metal skin of the fridge itself, and covering it with foam would quickly destroy it. But if your fridge has a visible condenser coil somewhere, either on the back of the fridge, or underneath, you're probably good to go as long as those coils remain uncovered and can get adequate airflow per their design specs.
I think this modification is probably best suited for older, less efficient fridges, where it'll give the most noticeable benefit in energy and cost savings. But if you did apply it to a modern high efficiency fridge, you could probably get near the efficiency of a factory-made ultra-insulated fridge (which currently go for a whopping $2,150!) for a fraction of the price.
EDIT: Found some more numbers in this video. Using 3/4" foam (less R-value), the guy in the vid achieved a 20% reduction in energy use. In comments, another person reported a 45% reduction in energy use after applying 1" foam.
8
So I'm going to an evening event which requires clear concert bags if you wanted to bring one. The max size is 12"x12"x6".
If I was going clear I at least wanted RGB, so I looked it up and it was $75CAD... Ouch, bags are like $20CAD.
So I thought about it and I wondered if I could make one.
So I got this bag and a 16.5ft string of fairy lights. I busted out the misses sewing needles and stitched in the wires to the fabric seme and this was the result.
I am extremely pleased with it. Next time I think I'd move the battery pack to the edge where the zipper starts or ends. Otherwise would recommend.
Bag was $19CAD and the LED's were $13CAD
After Event Edit:
So we came, we saw, we kicked it's ass... OK I did no such thing but adding LEDs certainly was a benefit. I made 2 of these bags, and honestly having big glowing somethings on your friends makes them insanely easy to find in a crowd. Especially for a night event which I went too.
The LEDs were even helpful when I was looking for a specific color of candy in the bag, or illuminating people for pictures.
My stitching was good and the wiring didn't get loose, but the same cannot be said for them bags themselves. As one of the straps on the bottom which holds a loop deteriorated and almost came off. I expected this, but it does sting non the less.
Going forward I am making these bags for everyone I'm going with. They are just so helpful.

9
10
11
12
Experimenting with making cat litter out of biodegradable newspaper. It was pretty easy. Found a large strainer out on trash day.
- Cut or shred recycled newspaper into ribbons.(above)

- Soak in water with a little biodegradable soap

- Strain and soak in plain water.

- Sprinkle with baking soda and squeeze out water.

Let air dry for several days. I'll report back on how it worked. :-D
Eventually, I'd like to compost with mycoremediation for non-crop plants.

13
hello Lemmy,
Every little while I update you on my basement build as I encounter problems. I am pleased to tell you the city is out of our hair. We have gotten everything up to code.
So here is where things get weird. My roommate and I live down here in the basement. Our rooms don't have drywall or tile ceilings. Currently, our funds are exhausted, and I am not looking to pick a fight with the city over permitting with the ceilings. That's a someday kind of thing.
We would like a small modicum of noise privacy from each other though. Right now the walls go up to the top plate, and end at the joists. The joists are open, as illustrated.
I am thinking I put something in the joists. My thought was just to grab some faced fiber glass insulation, staple it in there, and cover up the other side with a piece cut out from a blanket. I was also thinking maybe some XPS, which would be easier to cut to size and shape around infrastructure. I'm worried about foam board's flammability. I was also checking around my options with various blanket types, finding wool to be a good option, and a welding blanket to be an option as well.
Am I insane? Are the words coming out of my mouth still making sense? Does anyone have any idea what I'm talking about? or any suggestions? Help would be appreciated.

14
This is basically my most traditional bookbinding project. I used regular fabric cloth for the cover, and followed the traditional steps. The interesting (to me) change is the use of a CO2 laser cutter to mark the fabric. Here's the steps to making it:

I think it's fair to say that this book is extremely rare. The author has told me that the one physical copy I've made is the only one in the world, aside from an 'ugly stapled proof [he has] in a drawer somewhere.' The book was released on patreon as serialized fiction, with each of the six sections being made available as early drafts to a certain tier. The plan was that he'd put them up briefly, take them down again, then compile the drafts and eventually release a full published version. For life-happened reasons, the last step never got done (though the author was kind enough to repost the six sections on a discord channel when I asked).
Just the same, it was one of my all-time favorite stories, so if it wasn't likely to end up somewhere I could buy it, I was at least going to make a copy of my own.
So I took the six pdfs and started editing them using whichever online tools seemed like they'd do the best job. I started by cropping the files so they'd fit the correct aspect ratio for 8.5x11" letter paper folded in half, but started getting fancier as I went. I removed pages of bonus content from the back of each one so it'd flow better as a book. I merged them all together into one file (to reduce the number of mid-book blank pages from turning it into folio signatures). I even added a second set of page numbers to the bottom because the ones in the top right restarted in every section. I manually added some blank pages front and back.
By the time I was done, I had something to feed into https://momijizukamori.github.io/bookbinder-js/
I used that to create letter page folio signatures (with sets of 4 and 3 pages per signature). Now I had something I could actually print. We did so on a regular office photocoppier, and I can't recommend printing each signature separately and organizing them with paperclips enough. I would have lost my mind trying to sort them otherwise).
We start off the actual bookbinding in a pretty familiar way, taking each signature, folding each page of it in half with the bone folder, nesting them, and adding that signature to the stack.

Then I used my template from the previous bookbinding project to punch holes through each signature. One really nice thing about not having to trim whitespace from my pages is that the overall page size (and thus most dimensions of the cover except the spine) will remain the same no matter what is printed on the page or which printer I use. So I can reuse things like this template.

Here's my template with its measurements in case you want to reference it:

Eventually this left a nice stack of signatures ready to sew together:

As before, I sewed it together using waxed thread, following the Penrose Press Pretty Perfect Paperback Guide. I know there are a bunch of ways to do this, but I quite like this technique.

The next step is to clamp and glue the bookblock together. My clamp is pretty crude, it's just a 2x4' screwed to a piece of particleboard, with a couple ragged sheets of wax paper keeping the book from gluing to the clamp.
The goal is to get it as tightly pressed as possible while keeping the book block nice and square.
I didn't take a picture of this step for this project, so here's one from the last book. Note how the signatures are jumbled along the edge. I've gotten much better about lining them up recently.

I usually use my finger to work the glue into the gaps these days, it's faster and makes less mess than the brush. I think it gets into the gaps better too. I do three coats of glue on the spine. For hardcovers like this one, I then glue on a strip of mull or cheesecloth which is a couple inches wider than the spine on either side (front to back), and like an inch or so shorter than the top of the spine (heightwise).
Then I glue on a strip of watercolor paper (it's supposed to be manila paper but I don't have that).

Now it's time to start on the actual cover. I size the bookboard so it'll overlap the book block by 3mm on the top, bottom, and open edge. You're supposed to make it 3mm wider for that overhang, but then remove 6mm for the hinge by the spine (so that's actually -3mm) but I haven't had good luck with that, the open edge always seemed too close to the book block, so I just leave it the same width as the book block and slide it out 6mm. Somehow that works.

To get the spine width, you're supposed to measure the spine of the book plus one thickness of bookboard, but my spines often come out a bit thicker than the rest of the book so I'm sure about that guidance either.

That's the basic layout but I wanted the color to be darker. I was reusing fabric I bought for a halloween costume, but I was picturing more of a maroon color. I didn't want to buy new cloth when I had a bunch on hand I wasn't using, so I decided to dye this piece.
I started off trying to use some very old, expired, dark roast, decaf coffee, but the cloth just wouldn't take the stain, likely due to not being natural fibers. So instead I switched to using some old rit dye I had. I took lots of pictures for the coffee and almost none for the rit dye, so just pretend it's slightly blacker and in a different pot. And that I'm using a stick instead of a wooden spoon.

The nice thing is the rit dye isn't really going to go bad, so I just poured it from the old pot I used (we stopped cooking with it because the nonstick lining had started to flake) into an old jug. I've actually reused it since and it worked fine!

After a lot of hassle, the rit dye finally made the difference.
I ironed the cloth to smooth it out:

And glued the bookboard down onto it. Make sure the gaps between the spine and the front and back is 6mm and that they're square/in line with one another.

The next step is to trim 45s off the corners (leave one bookboard's thickness between the corner of the bookboard and the cut edge) and to clean up the edges.
Then I applied glue to the bookcloth and bookboard and wrapped each edge over:

My attempts at this look kinda crude, but you don't really see this once the endpapers are glued on, so it doesn't bother me yet. Someday I'll probably look back on it and wonder why I thought this was good enough, but for now, it works just fine.
(You might notice that I glued the cut-off triangles to a scrap of bookboard, that'll come into play later)
When you apply glue to the endpapers they'll kind of liquify a little and stretch, so trim a couple mm off the leading/open edge. It'll look better.
Okay, final assembly. This is where it all comes together or goes horribly wrong.

To do this you place the bookblock inside the cover and get it positioned how you want it. Open up the cover again, slide a piece of wax paper and a piece of scrap paper in between the topmost endpaper and whatever's underneath it. Make sure the scrap paper is on top.
Get your brush soaked with glue and then dab it on some scrap until its not really soaking where it hits. Use little vertical jabbing motions (Psycho style) to stipple the top paper so its completely glued. Apply glue under the mull/cheesecloth, then put the cloth in place, then apply glue on top of that.
When there's a good layer of glue everywhere take a deep breath and close the cover onto the page. Open it just a crack, look for wrinkles and smooth them out as best you can. If you open it too far the paper will pull away from the cover.
When you think you've got it as good as it's going to get, remove the scrap paper but leave the wax paper. Close the book, put something heavy on it, and hope for the best.
When its dry, flip it over and repeat the whole process.
We've now hit all the usual steps (except the end ribbon thing but I don't see the point of that). I was honestly very pleased with the results.


But lets get fancy with it. I had some time on the CO2 laser cutter at my local makerspace, and I'd seen online that people had managed to etch bookcloth, so I wanted to try finishing things that way.
We started with some tests, on very low power and working our way up. We weren't sure how well the poly-blend fabric would handle the laser, or what kind of damage it would cause.

We started with the settings for printer paper (95 speed, 10% power) and worked up by 5% increments, finding that the quality improved each time.
Once that was done, I banged out a quick cover layout by measuring the book, drawing a vector rectangle in those dimensions, and positioning the raster title in the middle.
We ran it with the lid open (runs as a test with just a visible dot) and made sure the rectangle followed the edges of the book.
I had to prop the cover open a little so it'd be more level (I used one of the little connector things we use to pin warped things to the work surface). Then it was just a matter of hoping for the best and rerunning the file with the lid closed.
It was kinda high stakes but I'm very pleased with how it tuned out.
#diy #bookbinding #lasercutter #etching
15
16
17
I've actually done a couple posts about softcover books on my movim blog, this one and one previous one. The Fully Automated softcovers are a little fancier, but this one I think is a good example of the benefits of being able to just make a book when you want a physical copy.
I have a few advantages in this project: my SO had already bought a bookbinding kit and book which I was able to use, and I have access to a free color printer, and, through my local makerspace, a plotter printer which can print on canvas. Everything else, the graphic design, the interposing, etc, was done using free tools like GIMP, an online pdf cropping website, and https://momijizukamori.github.io/bookbinder-js/.

It looks like one of the advantages of this hobby is suddenly being able to get physical copies of books that aren't available as anything other than PDF ebooks. I've got a handfull of favorite books from various authors which were extremely self-published, sometimes as serial fiction later edited into a PDF. One or two eventually got a limited print run, or the author made it available on a Print-On-Demand site, but at this point, I think I've found and bought all of those. That leaves a few that I'm very happy to finally be able to hold in my hands while I read them.
Vatsy and Bruno was one of those. Written in 2010 by Adam "Rutskarn" DeCamp, and published on the old version of https://www.chocolatehammer.org/ , Vatsy and Bruno is a high-strung, noire, dark-comedy-adventure story set in a radio-era city under the thumb of vague oppression. It's a fun story, and one that feels like it should be typewritten on paper (preferably cheap, grubby, fish-stained paper with some suspiciously blood-like smears).
Making this one actually took a bit more prep work on the files.
I started with the PDF DeCamp released on his website over a decade ago. This, unfortunately, wasn't really sized or laid out for bookbinding (re. the wide margins, the page size, and all the page numbers being on the right side of the page). I could get really fancy with editing this, but it's just for me, so "good enough done quick" was the order of the day.
I wanted to print this with no extra trimming, so I planned to use 8.5x11 paper folded in half. Unfortunately, the PDF was, itself, scaled for 8.5x11" paper, and when you fold that in half, the aspect ratio changes. So when I fed the PDF into (the tool I use for interposing the pages](https://momijizukamori.github.io/bookbinder-js) it stretched it vertically quite a bit. It was also showing some fairly large margins, which was unfortunate as those came from the original file. So keeping things "good enough" I threw it into an online PDF cropping tool, cropped it closer to what I'd need, and let it stretch the file a little.
I spent a good bit more time on the cover.
The original covers were also the wrong aspect ratio, but they had almost everything I needed.


I used them and a cover from one of the three sections the story was originally released in, to bash this together:

The cover, spine, text, and back cover were all made from DeCamp's own art, just re-arranged to fit this aspect ratio. From there, I followed the same process as before, but with much faster prints (no giant backgrounds) and no trimming the pages (no giant backgrounds) so that part was easy.
Fold, punch, sew, glue:

I took each signature (stack of four pages meant to fold together) and folded each page in half with the bone folder, being careful to make sure I knew which side was 'in'. Then I nested them together.
I made a guide to lay out the six holes in each signature, and used it to punch holes through the fold with the awl. Then I sewed them together following the Penrose Press Pretty Perfect Paperback Guide:


Once the book block was all tied together nice and neat, I clamped it and glued it with three coats of acid-free PVA glue.

My book clamping station certainly looks ragged enough to do the title characters proud.
While it was drying, I swung by the makerspace and printed the cover. I need to remember to oversize these by a few millimeters, because the first one is always a little small. Ah well, maybe I'll find someone with a bookbinder's guillotine someday.
I folded the cover and glued in the book block just like with the previous project.
I find it easiest to attach the cover in three steps, back, spine, front, but I'm sure real bookbinders have better systems. I start with a flat smear of glue down the inside of the back cover, right beside the bound edge and to set the book block down on it. Then I glue the spine with the book upright (this time I tried on top of the bone folder, which has a similar shape). Then I glue the front cover. I squirted some acid-free fabric glue down the spine and used a paperclip to work it further down, to where it hadn't stuck, and then held it in place by hand for a bit to get a closer fit. I like this stuff, it bonds well and it seems to set much faster than the PVA. This time I also used it to glue the bound edge of the front of the book block to the inside of the cover too, so we'll see how that works out.
The results:


Cover size aside, I'm pretty pleased with it. If ever there was a book to glue into its cover the wrong way around, this would be it, but I got that right this time. I'm glad to be able to read it properly, and to finally be able to put it on my shelf.
#DIY #bookbinding
18
cross-posted from: https://lemmings.world/post/11714128
I tried to make a phone "wallet" case. I used the inside of my old one (what you press your phone into), cardboard from a an old box and some leftover vinyl flooring. I originally wanted to glue everything but ended up stapling some bits. these pics where hastily made and don't do the thing justice. Let's see how well this holds up (I seldom have it in my pocket so that helps).


19
20
21
22
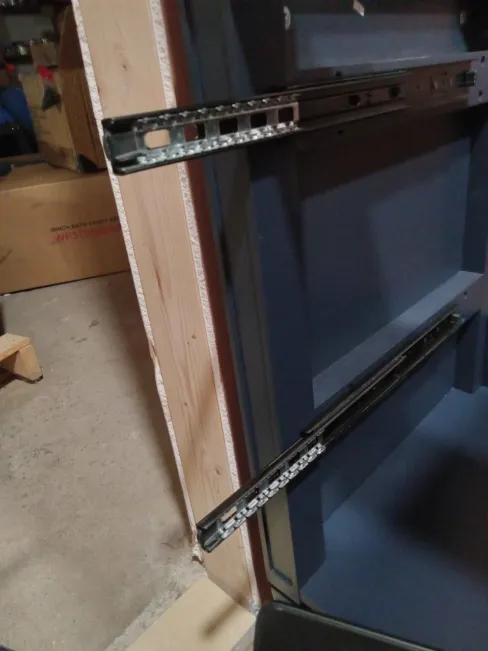
I bought this cheap bathroom vanity off of amazon and we assembled it. We cannot get the drawers on. These silver things get in the way. When I get them mounted in a way I feel is correct they prevent the drawer from closing all the way. I haven't dealt with anything like this.
Does anyone know how to mount it? I'm sure once its done Ill feel like an idiot for how simple it is.
Thanks
23
24
38
I recently started trying to learn bookbinding (and because I never liked practicing by making something I didn't need, I'm starting with a 266-page solarpunk TTRPG rulebook I helped make).
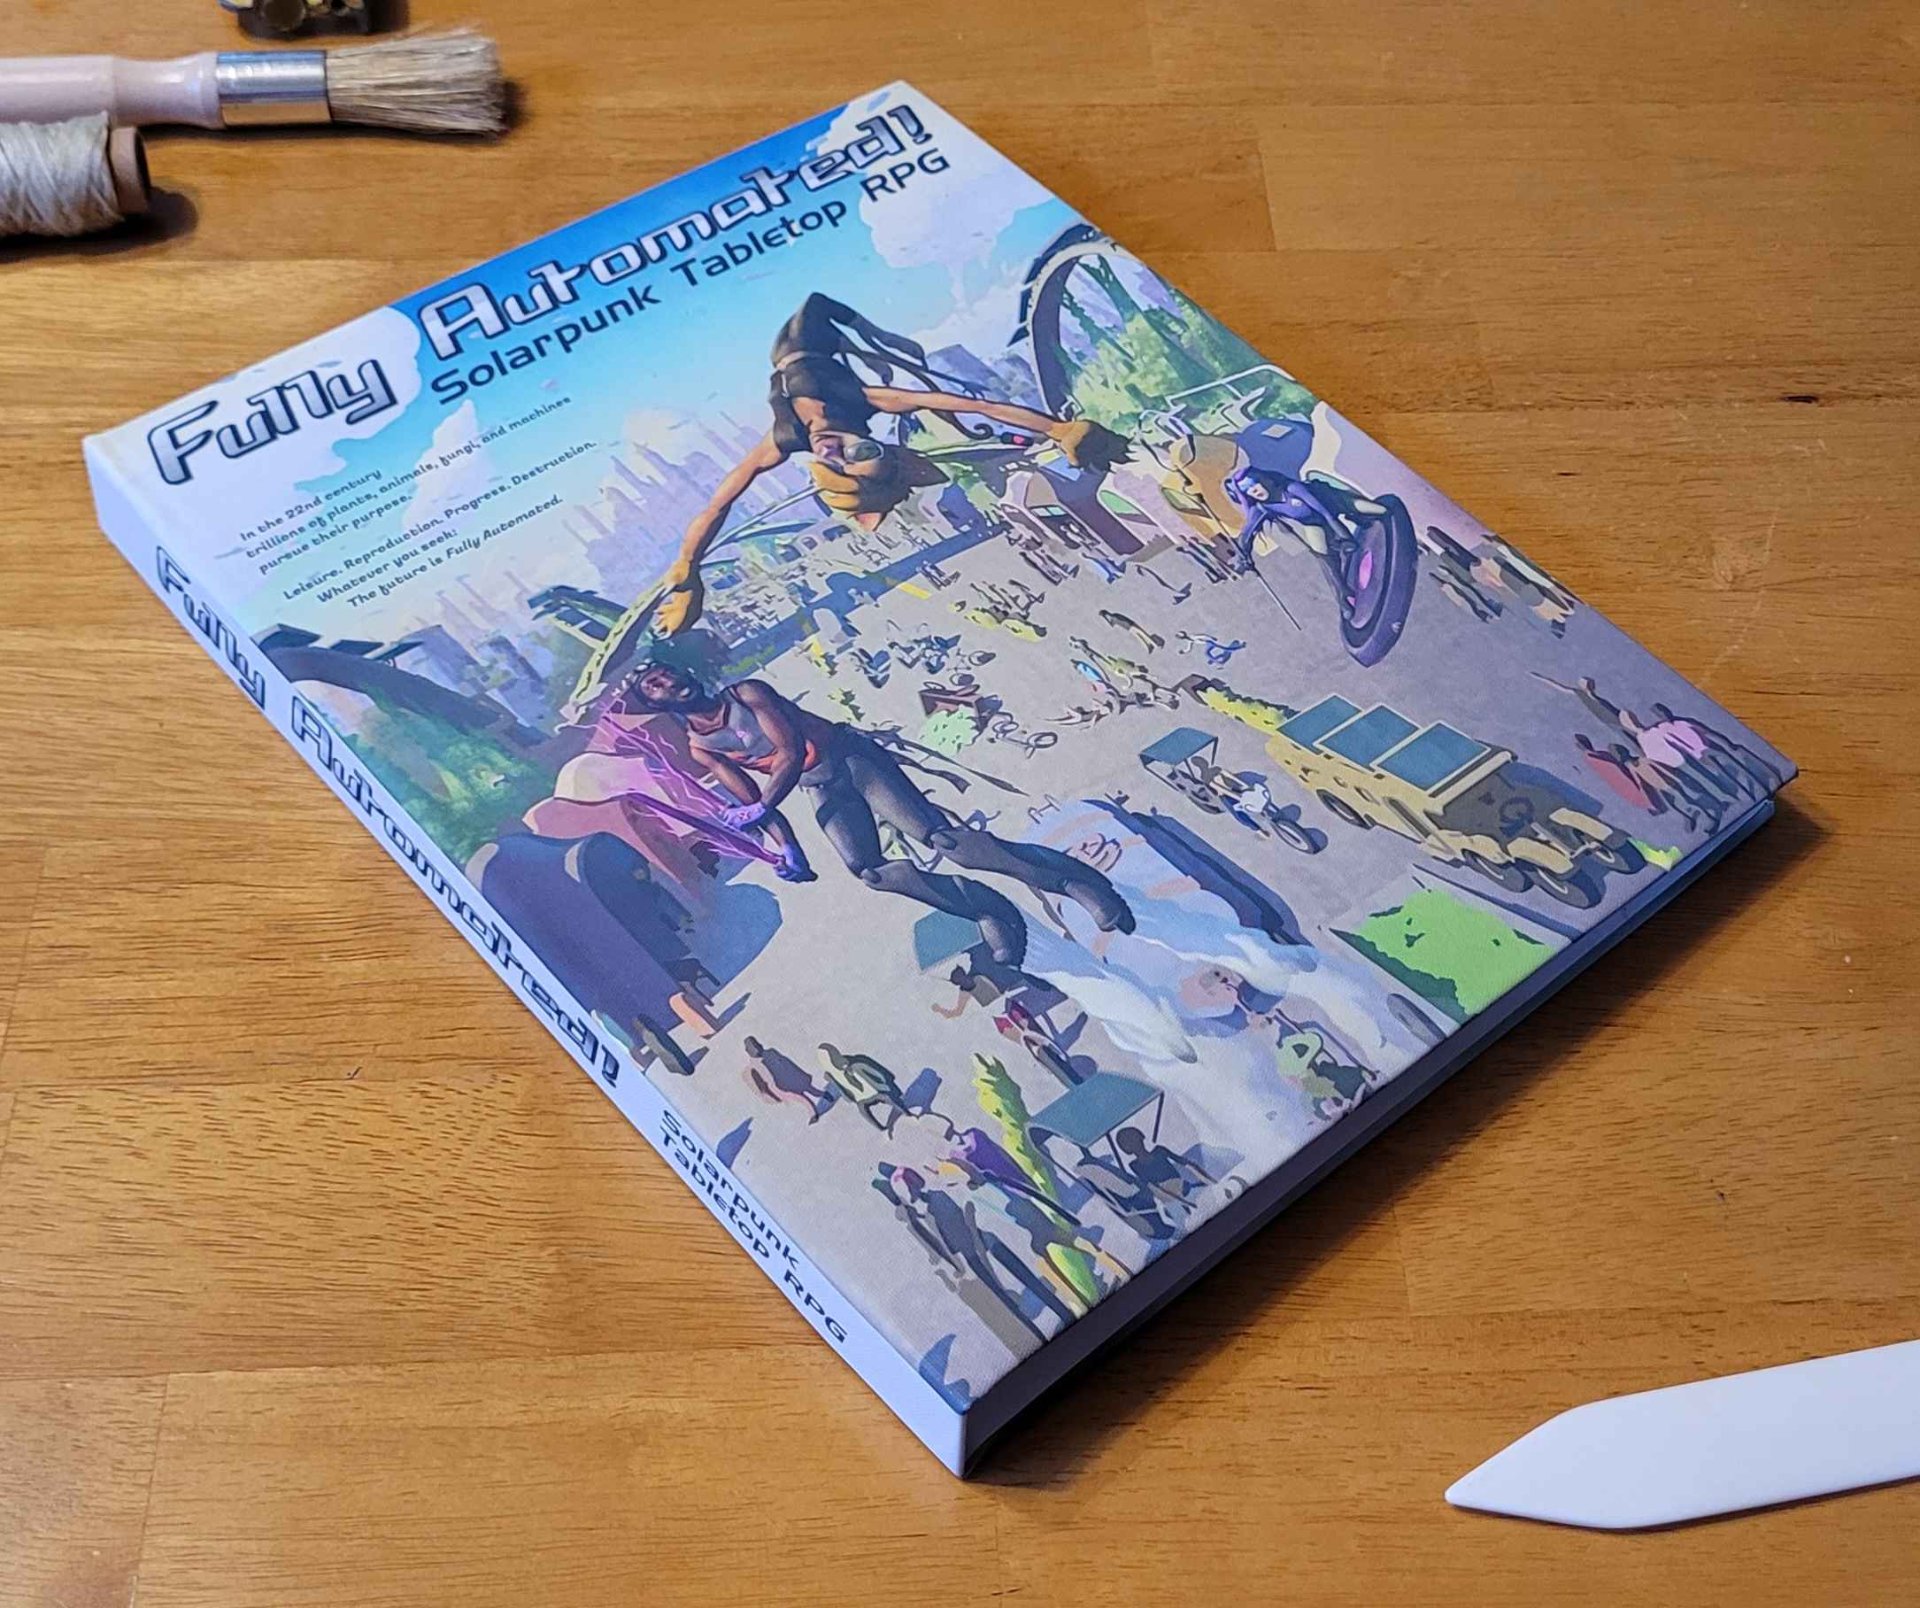
I joined the Fully Automated discord a while back, mostly because I was looking for a place to talk worldbuilding in the genre. I read the lore/setting part of the rulebook and it actually helped me start thinking bigger than I had been around ways the world could be better. If there's a solarpunk timeline from our modern day, through conflicts and crumbles and collapses, gradually rebuilding towards something eutopian, then they're much closer to that high-tech, post-scarcity end-state than the solarpunk stuff I normally write. But there's something kind of fascinating about that world, and it makes for a great place to tell stories.
I offered them the use of the art I'd already made, and then I got involved in writing and editing the lore, including contributing a couple sections around rural areas and reuse, which, true to form, they expanded into something bigger than I had come up with on my own.
Since the game is an open source, all-volunteers thing, we didn't do a print run, just released a series of PDFs. But I have free access to a printer that can do 11x17, a plotter printer that can print on canvas, my SO's unused bookbinding kit, and enough patience to learn to bind at least a few copies, so I decided to give it a try.
The first step was rearranging the pages into signatures. These are small pamphlets of folded papers that get sewn and glued together to form the book. This turned out to be way easier to do than I expected, as there are several online tools for interposing PDFs. I found and really like this one: https://momijizukamori.github.io/bookbinder-js/
This allowed me to take the regular letter-sized (8.5"x11") PDF and rearrange it into signatures of four or five 11"x17" pages, with two pages per side. It handled reordering the pages so they work correctly once the signature is folded together and stacked with the others. We also took these interposed files and made them available on the FA! website.
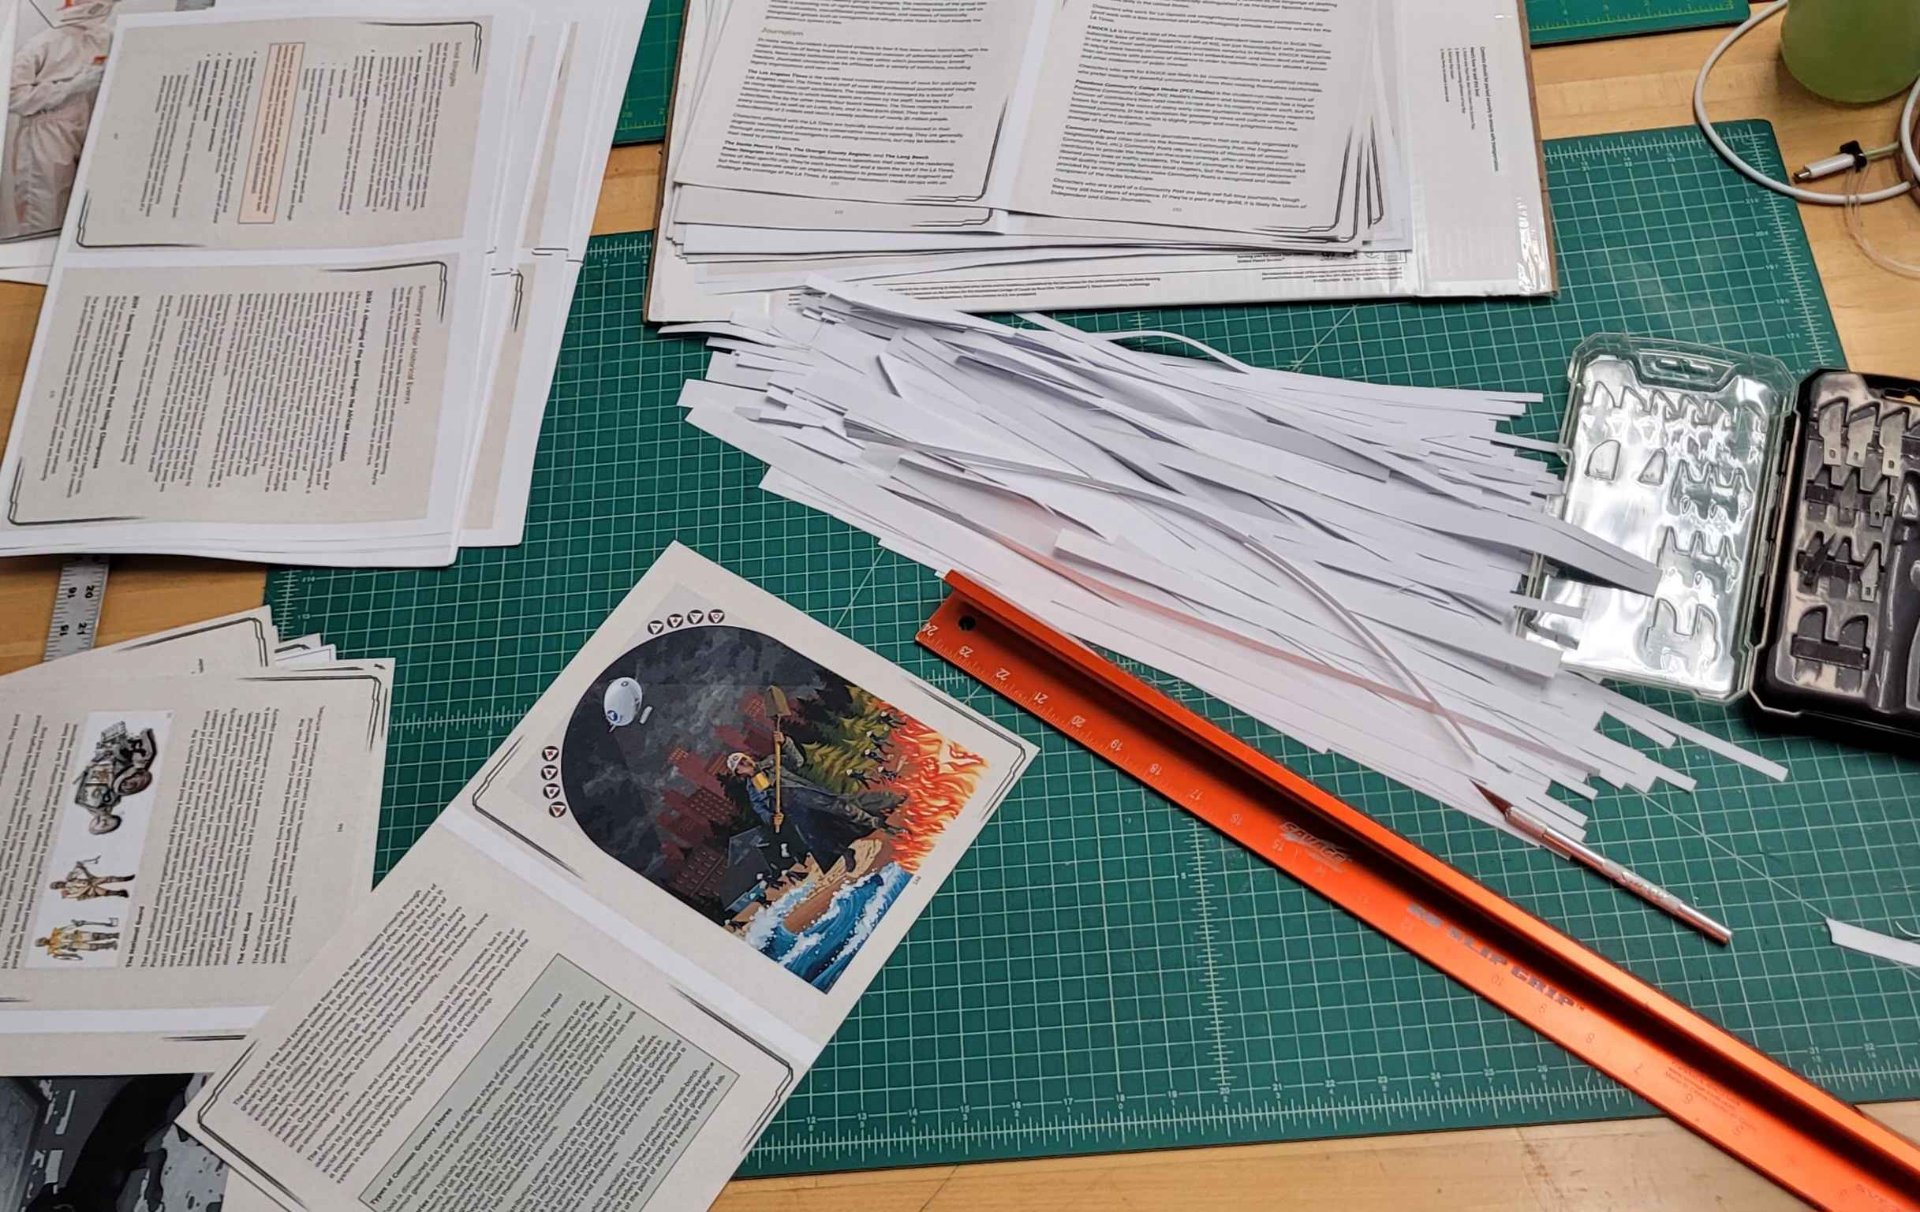
Once I had the interposed version, I could print off the signatures:
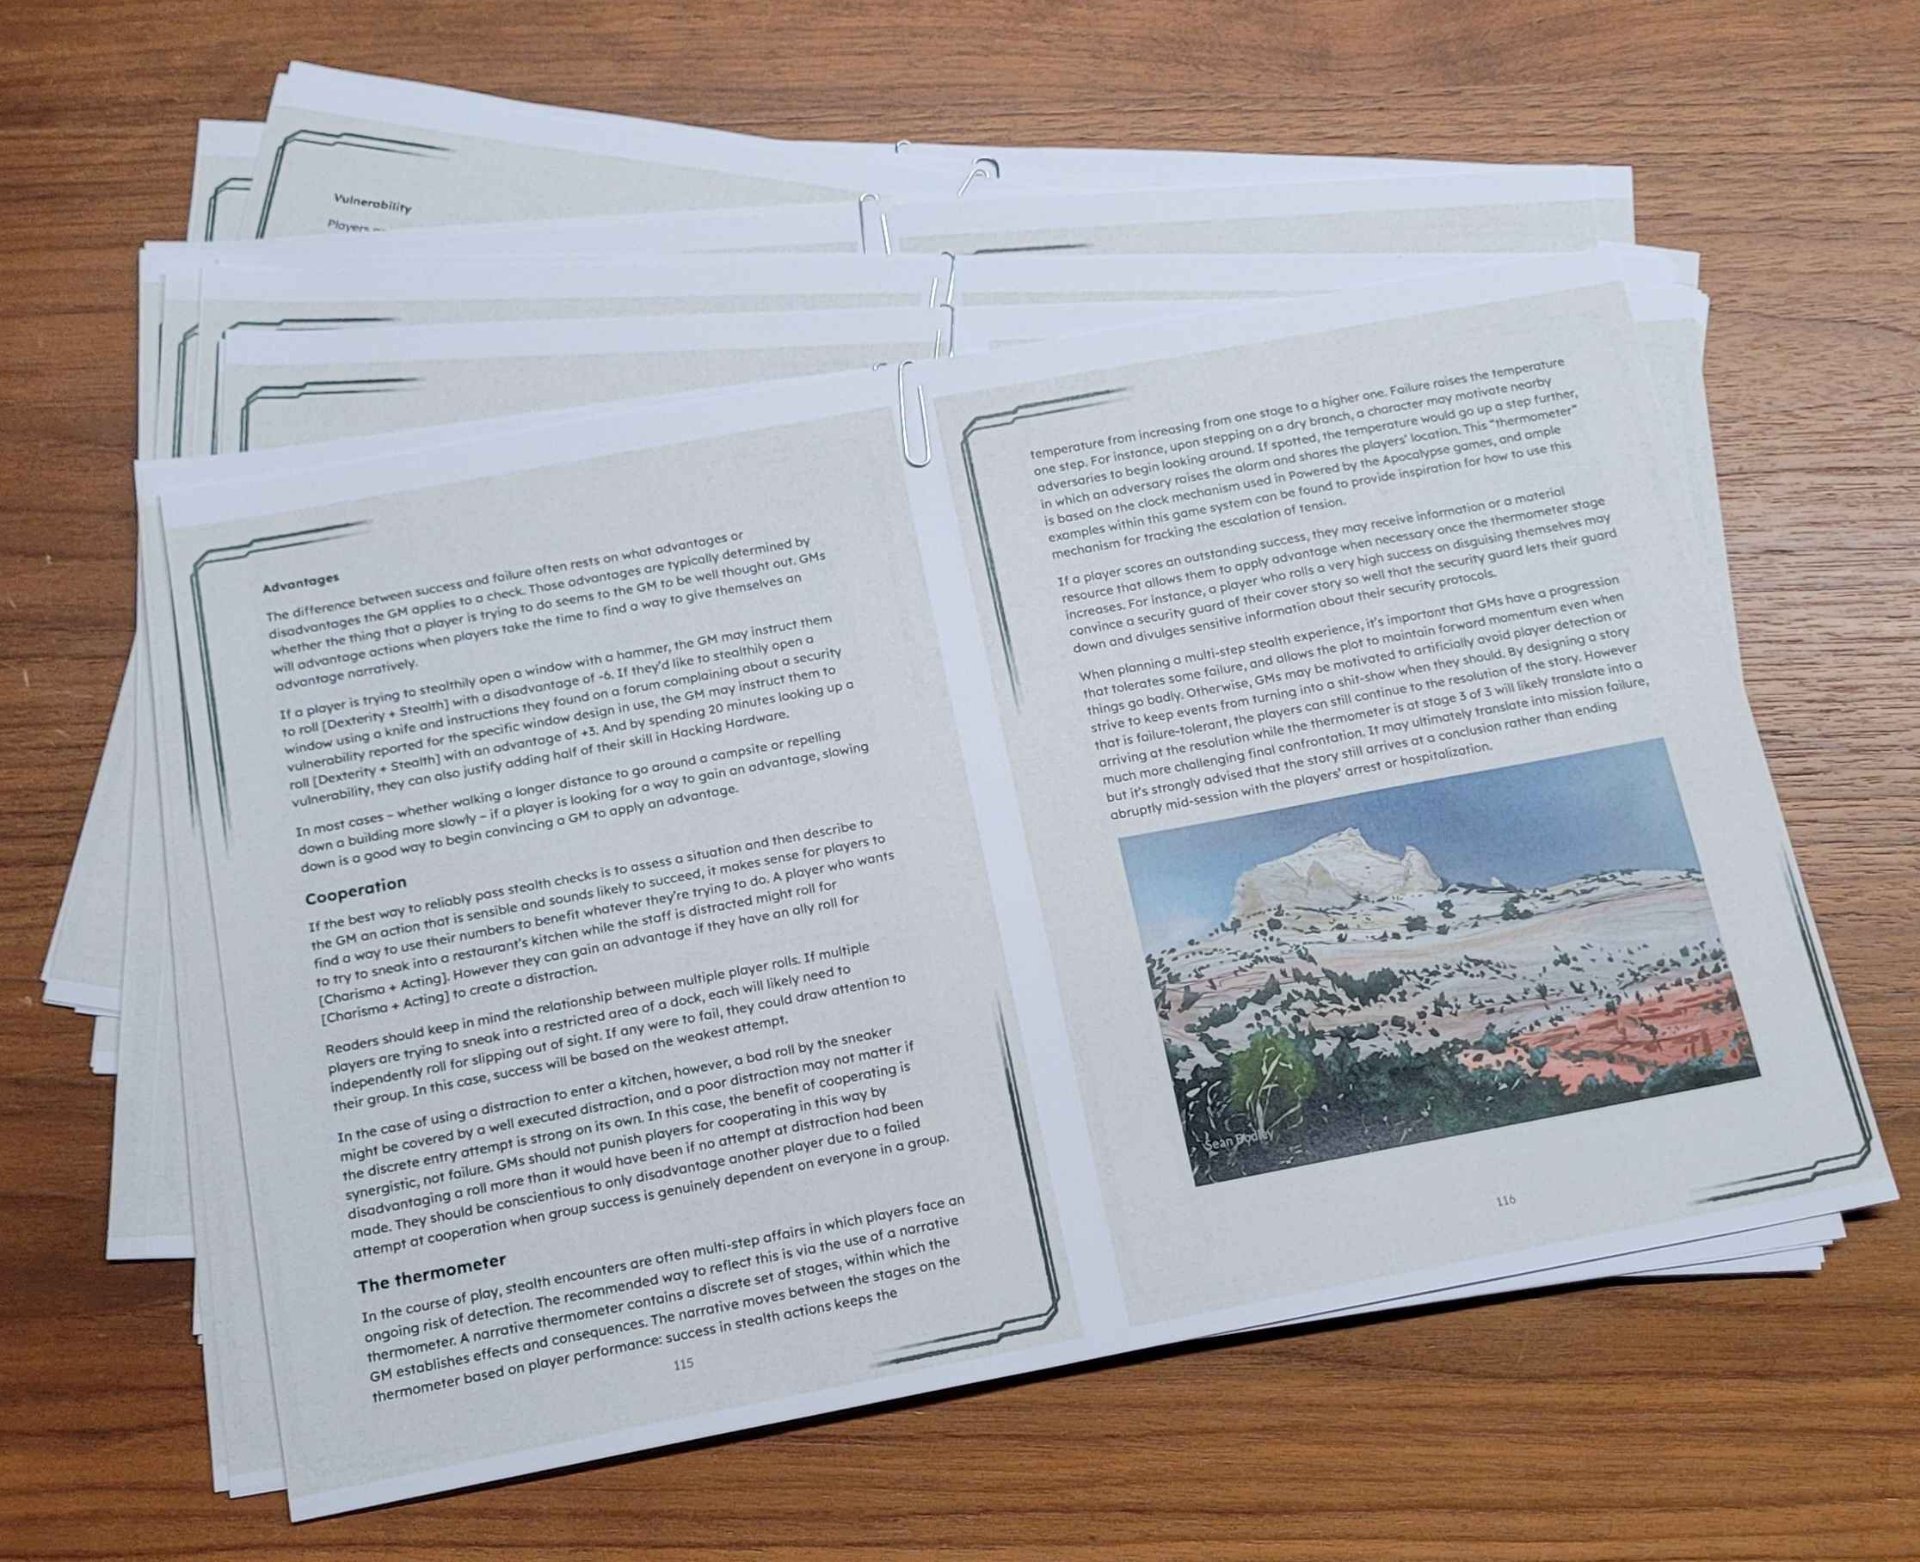
I really recommend printing each signature separately so you can paperclip them together and keep careful track of which pages are inside it. It's really, really easy to completely lose the plot on the numbering - I almost couldn't figure out how to put a four-page signature back in order once or twice, if it had been mixed with other ones I'd have been really confused. But it's easy as long as you keep them in their sets and remember which side is up (because its the only sheet/side where two page numbers show in order).
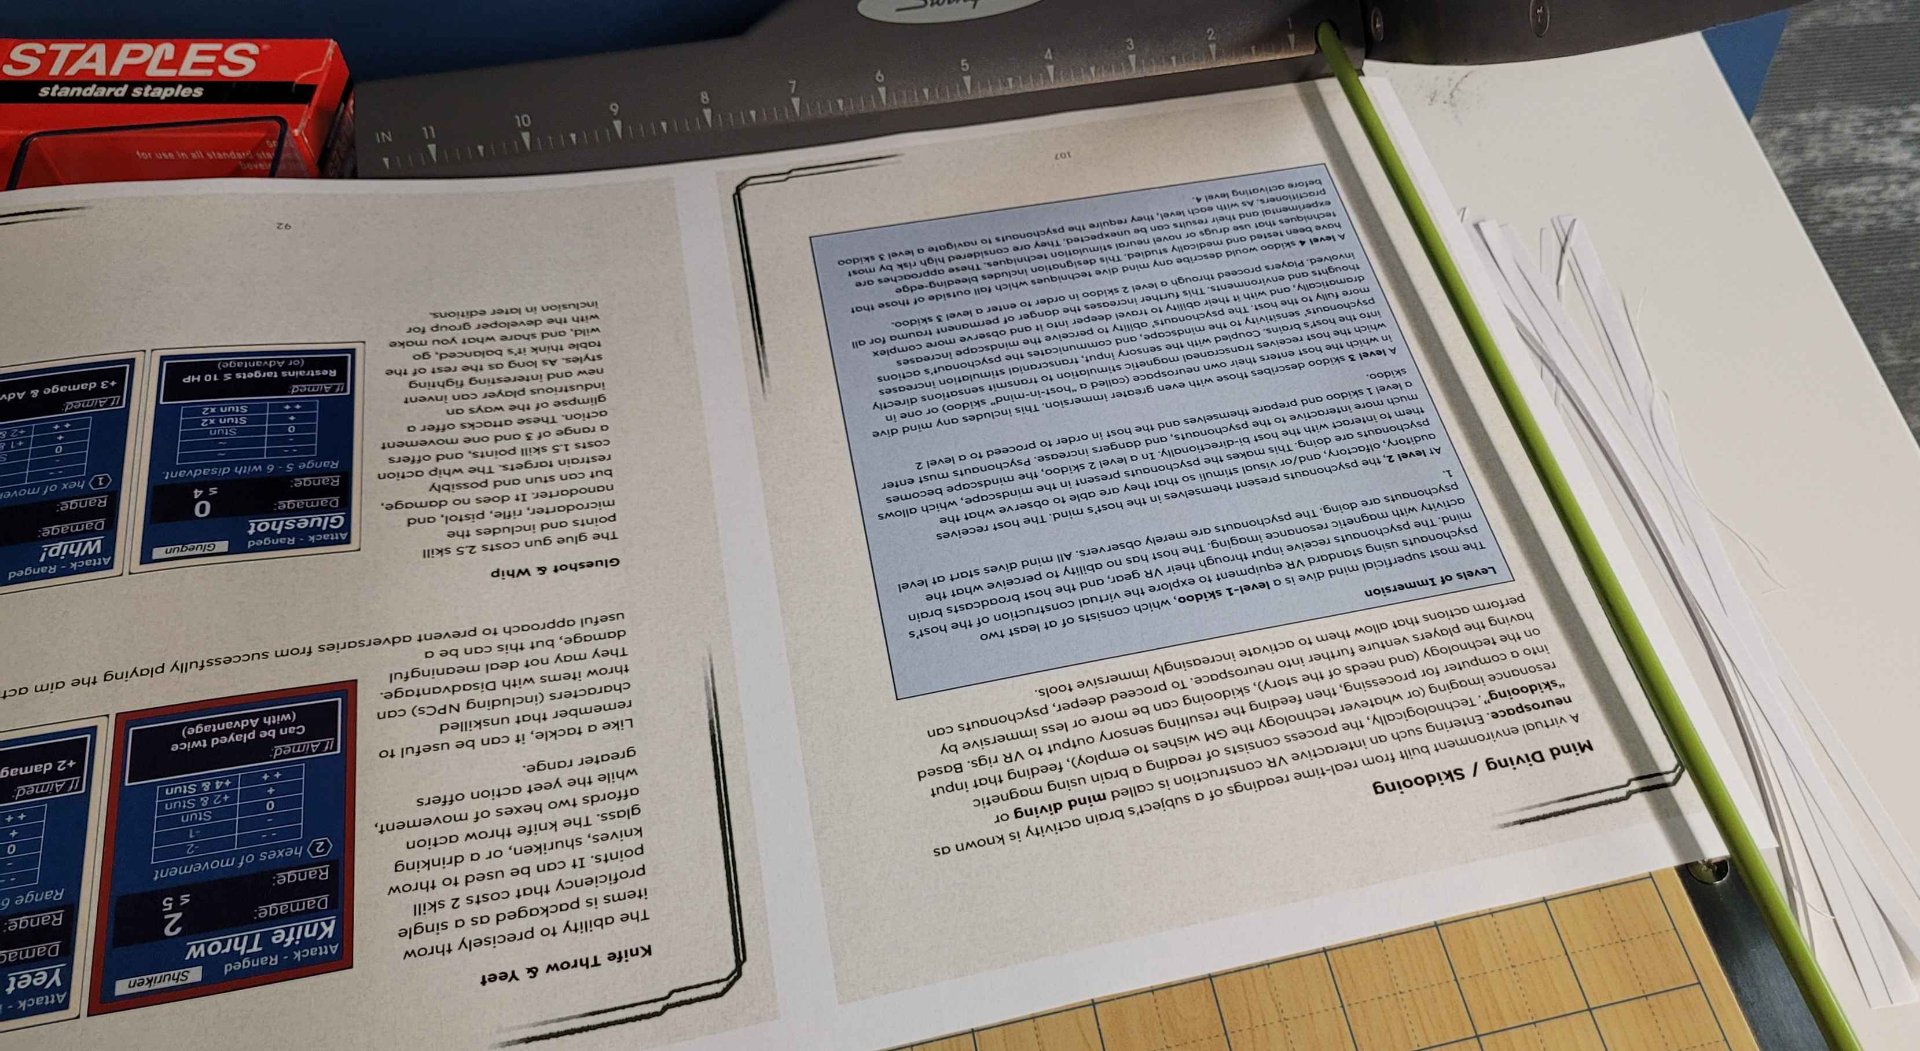
The free printer I had access to couldn't print without leaving a margin so I had to trim them by hand. I started off using a papercutter on the short sides, but eventually switched to using a straightedge and scalpel on all the sides.
The next step was folding the signatures folio-style using a bone folder:
And then punching holes so I could sew them together. Some guides have you sew each signature separately, then sew those together, but the one I followed (and recommend) does them all at once.
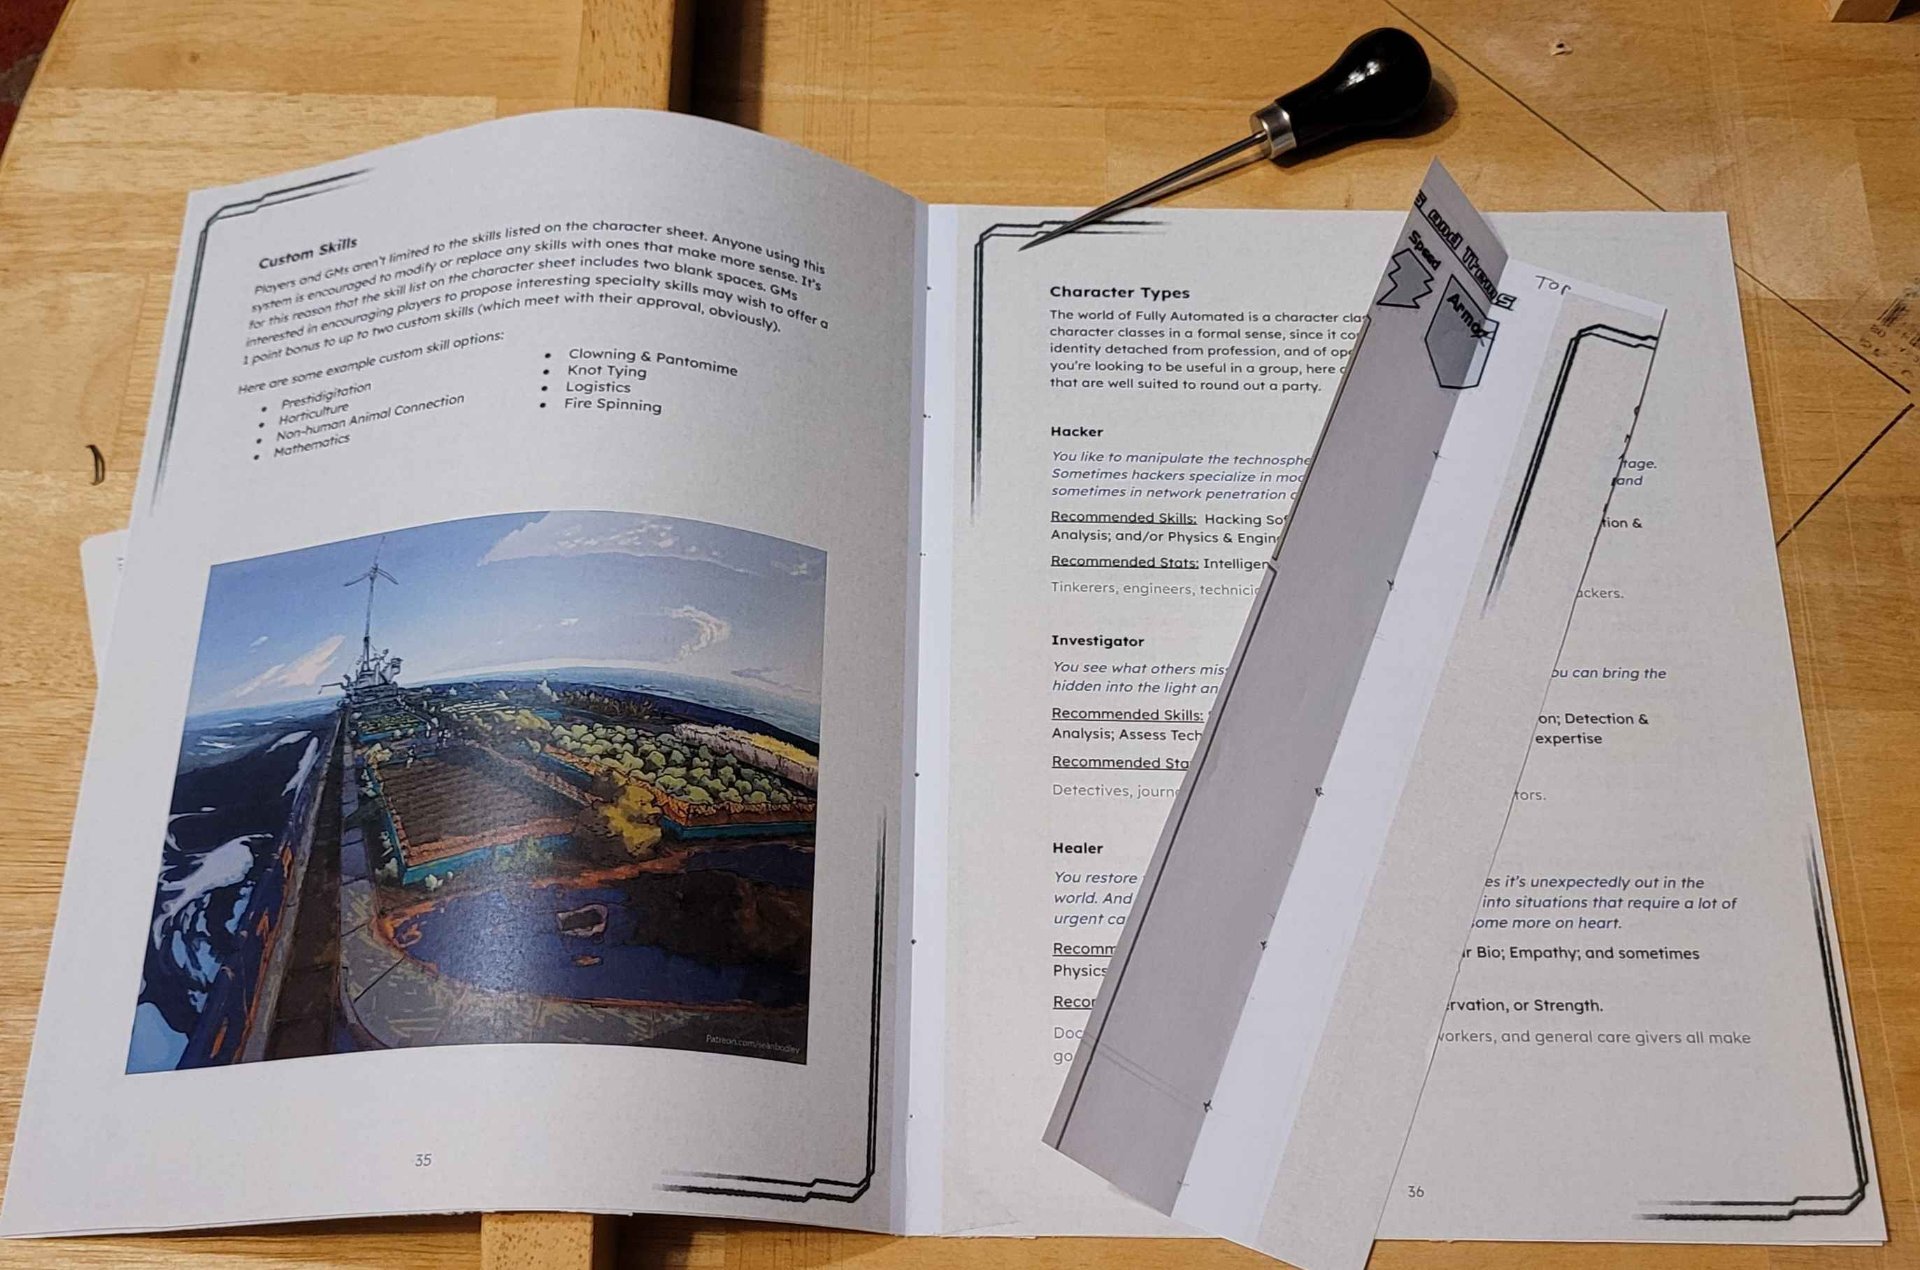
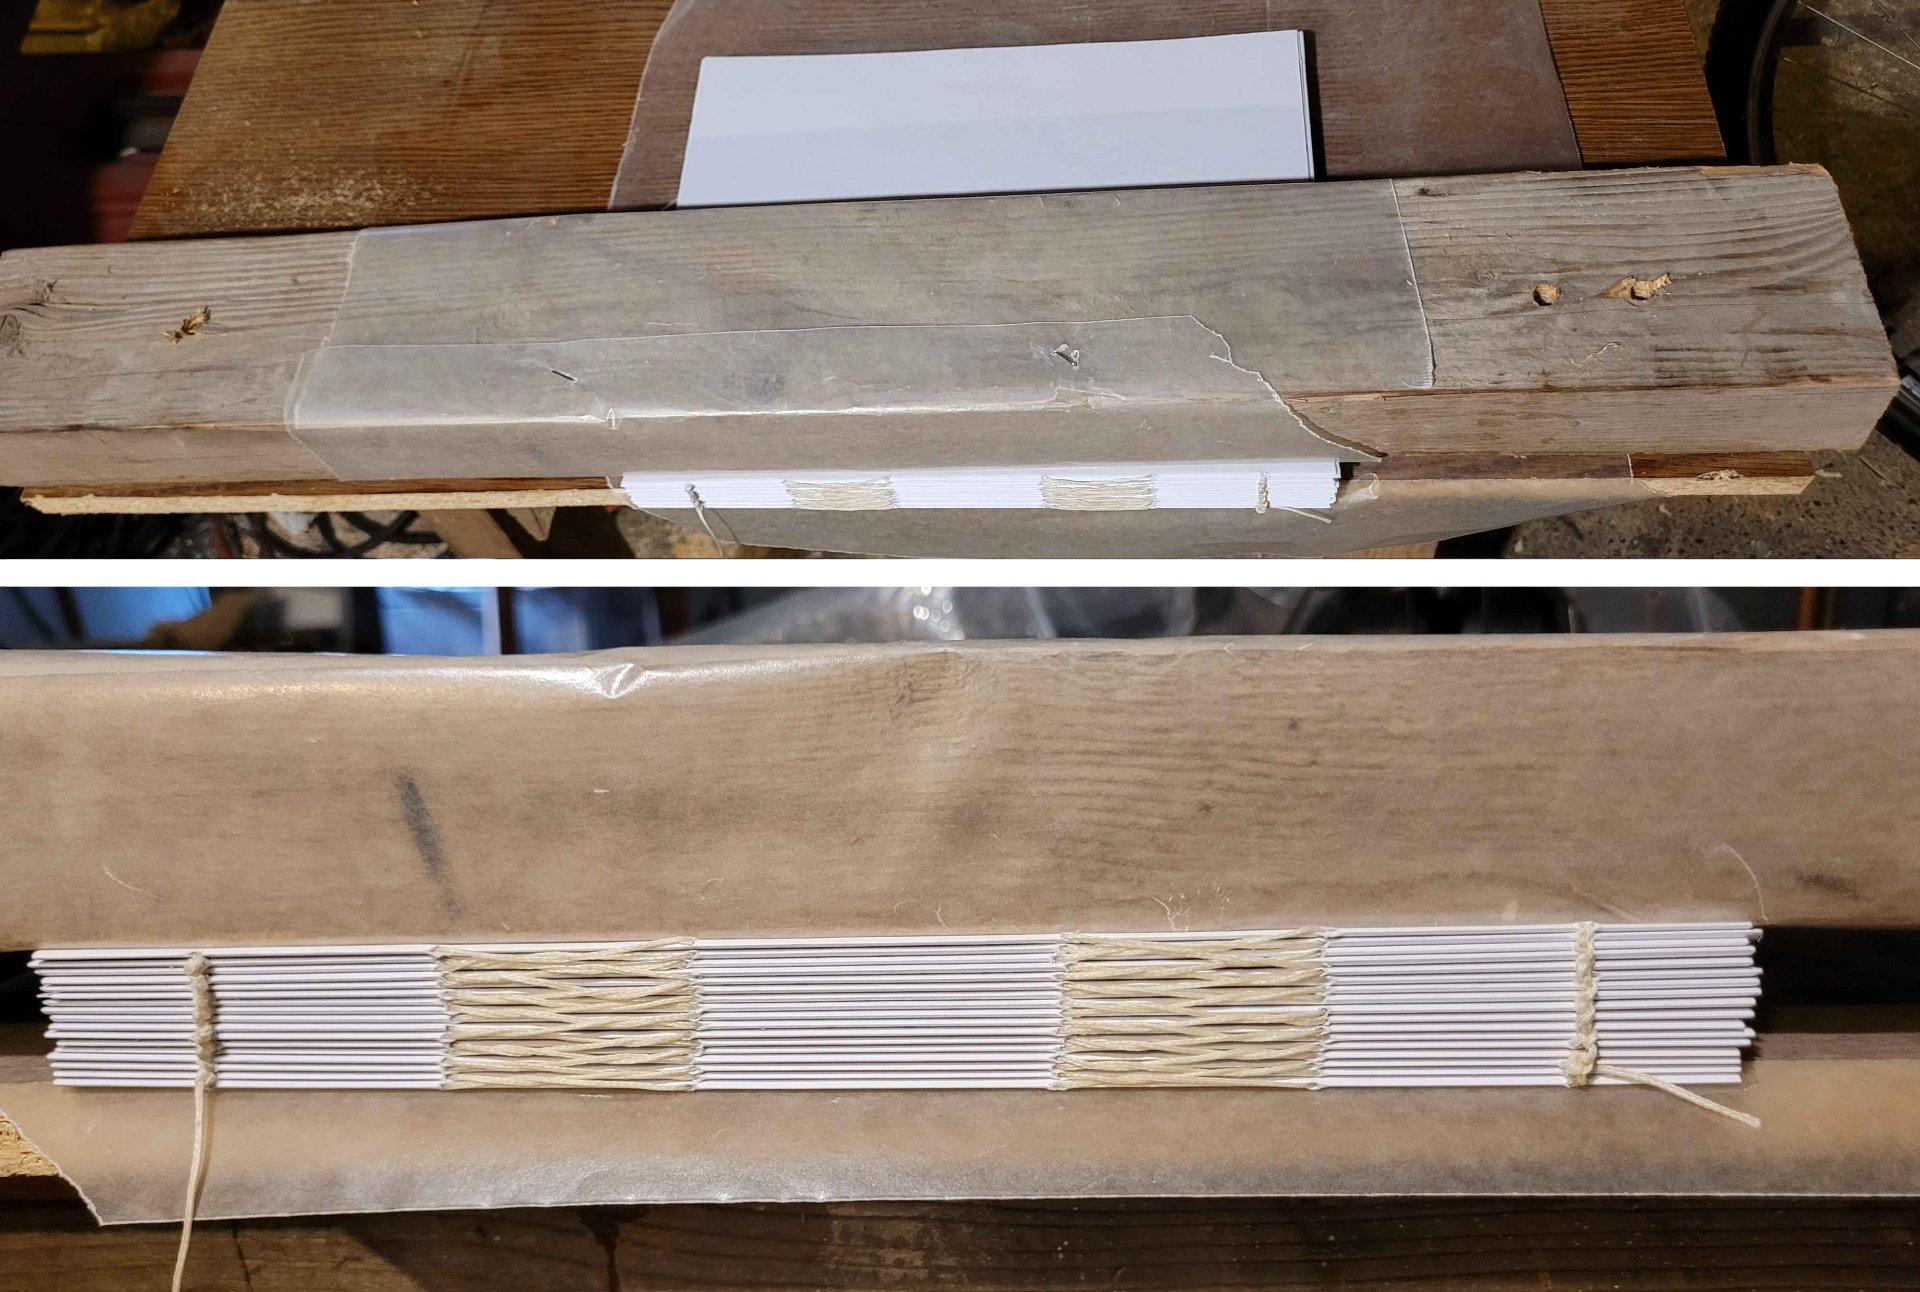
The folded piece of paper is a template marked and punched so all the holes in all the signatures line up as closely as possible.
Next, I sewed it together using the Penrose Press guide, being careful to pull the threat as tight as I could before tying it off on each signature. I really like how secure this seems to make the binding.
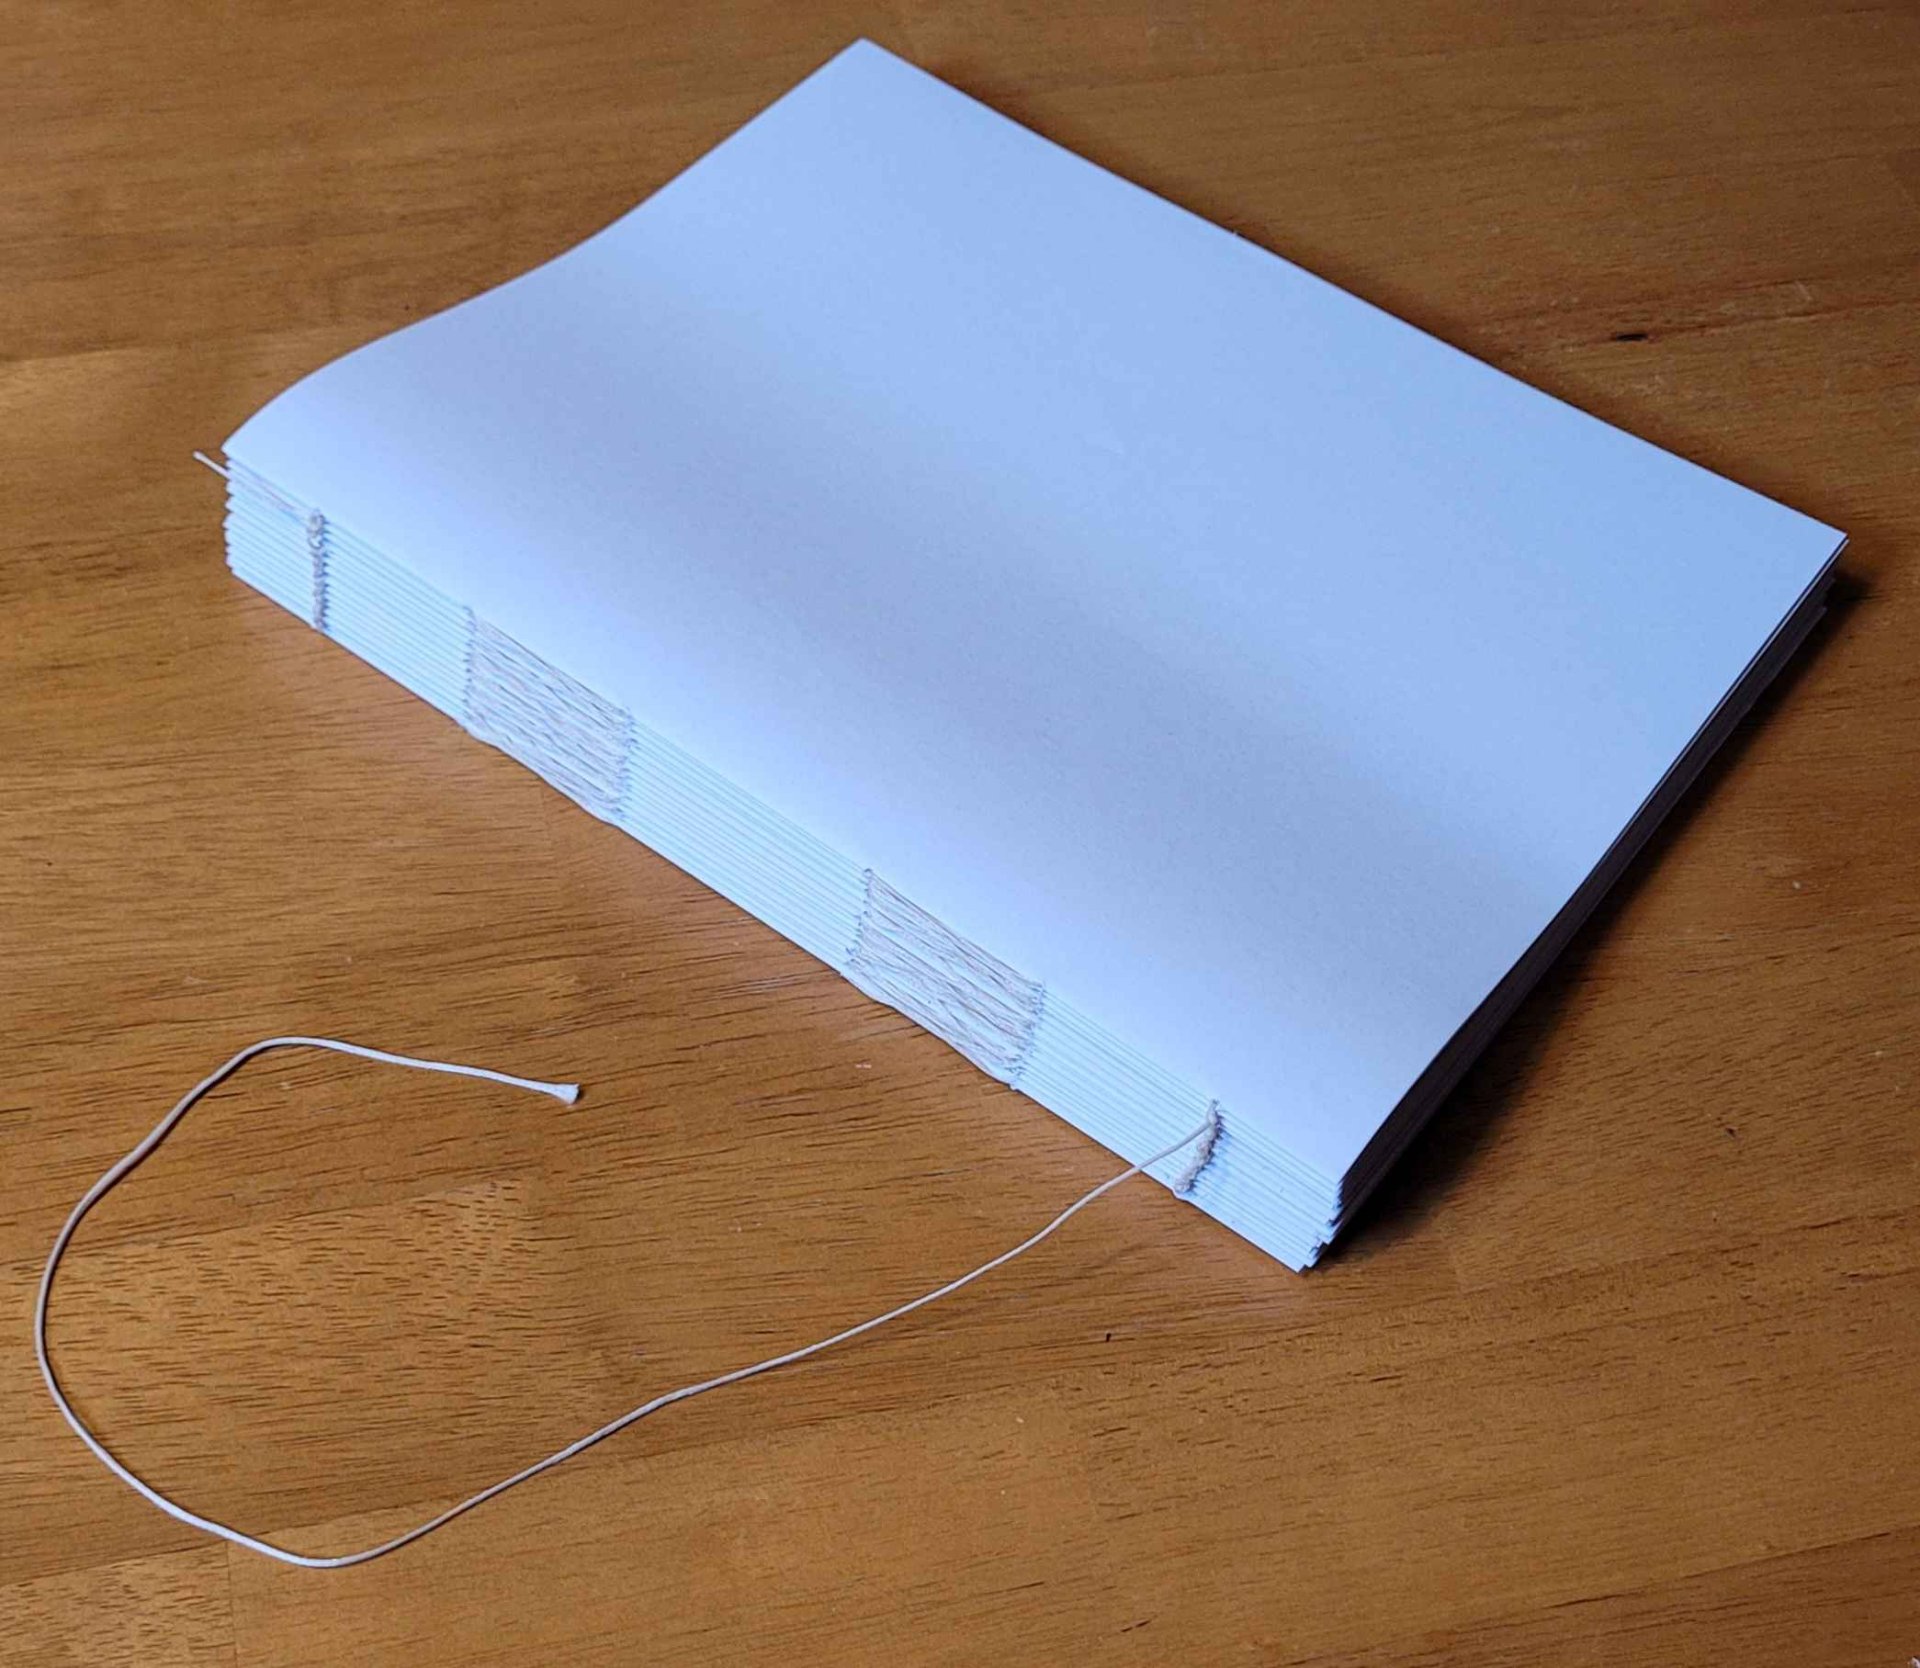
Even if you tie it tight though, it'll still have some gaps. That's were clamping and gluing it helps! The guides I followed suggested just stacking books for weight at this part, but I went ahead and built a really ugly book press with a piece of scrap particleboard, scrap 2"x4", some wax paper, and a couple deck screws. I pre-drilled the holes, wrapped the boards in the wax paper, and screwed them together so the book block could be clamped between them:
That's when scope-creep hit and I switched plans from making this first copy a softcover book to making a hardcover.

I followed my SO's bookbinding book, and this guide for the spine, and added a section of cheesecloth (in place of mull, which I didn't have) and manila paper in roughly the dimensions they specified. These help hold the spine together and attach it to the cover (called the case).
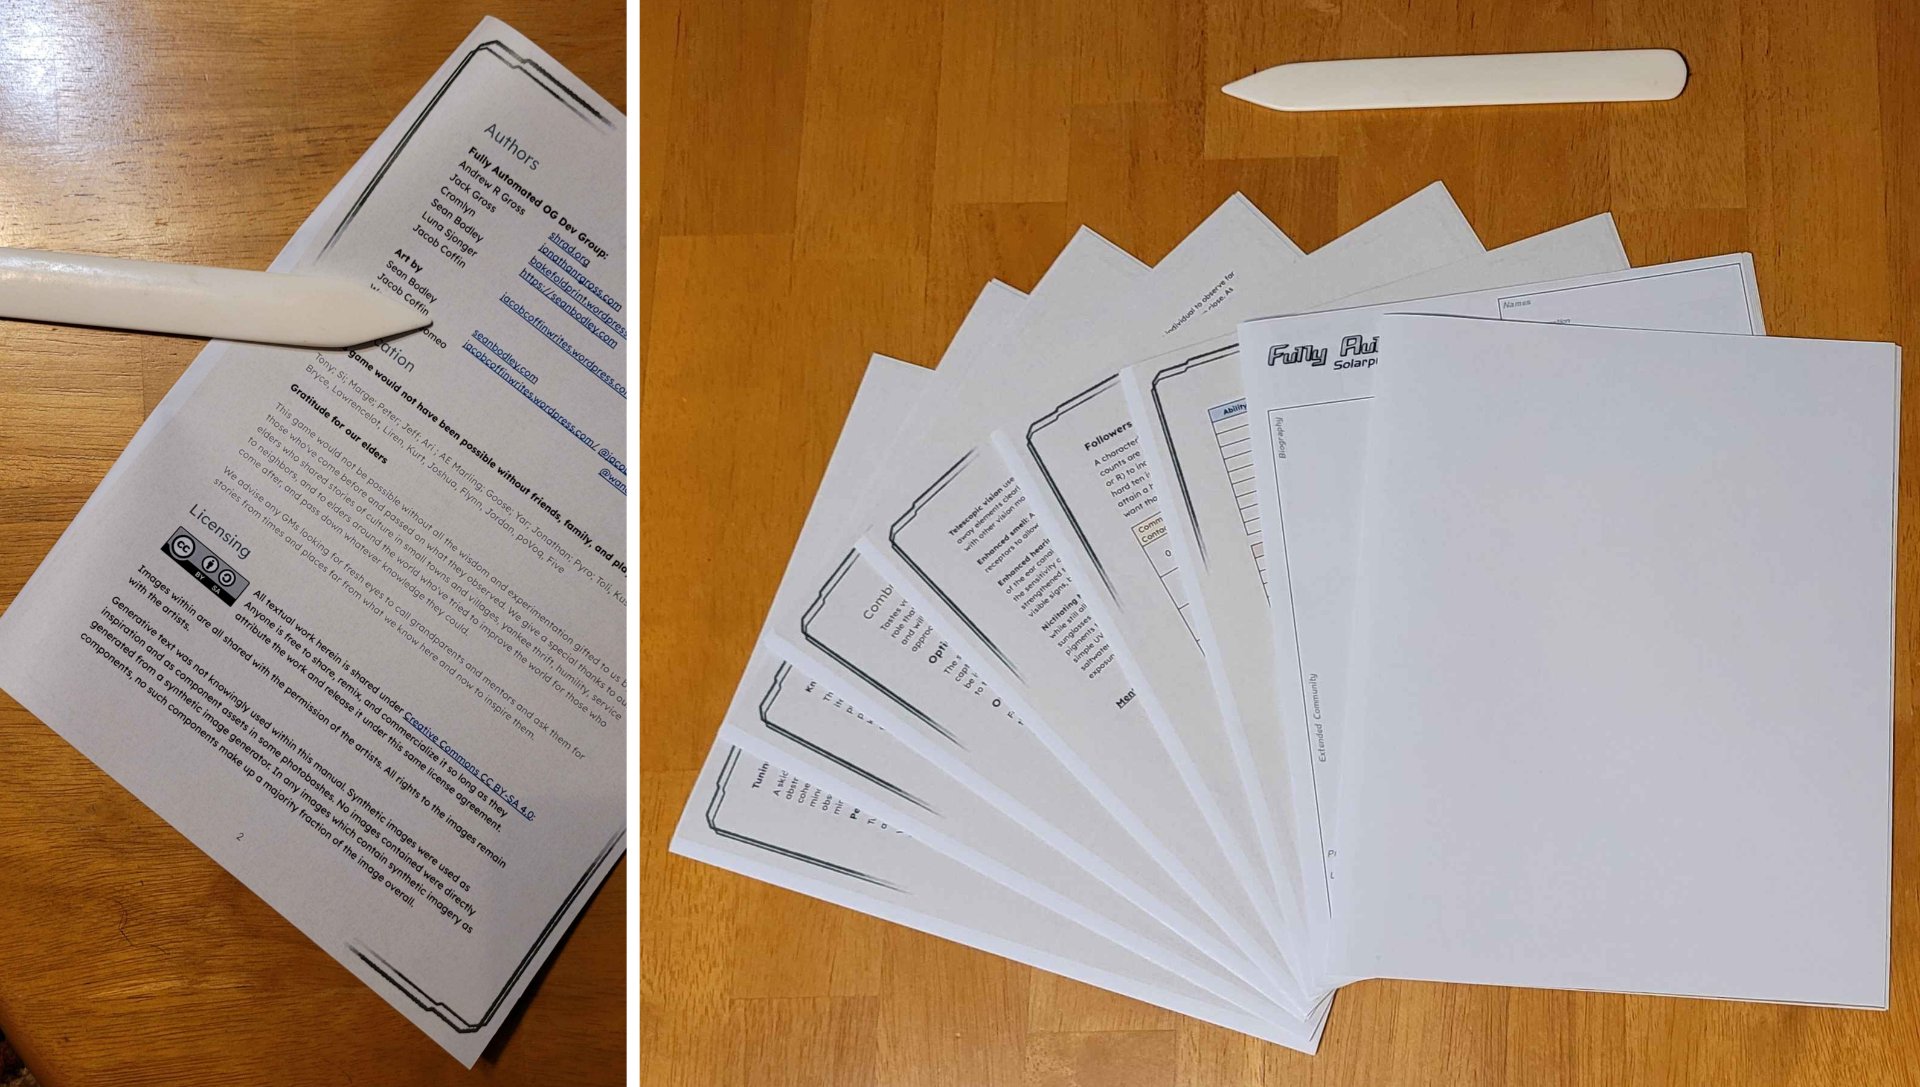
Next, I roped the Fully Automated folks into making a back cover for me, and I put together a printable version with a spine and everything. I took a lot of measurements, made my best guess, then went to our local makerspace to print it on their plotter printer:
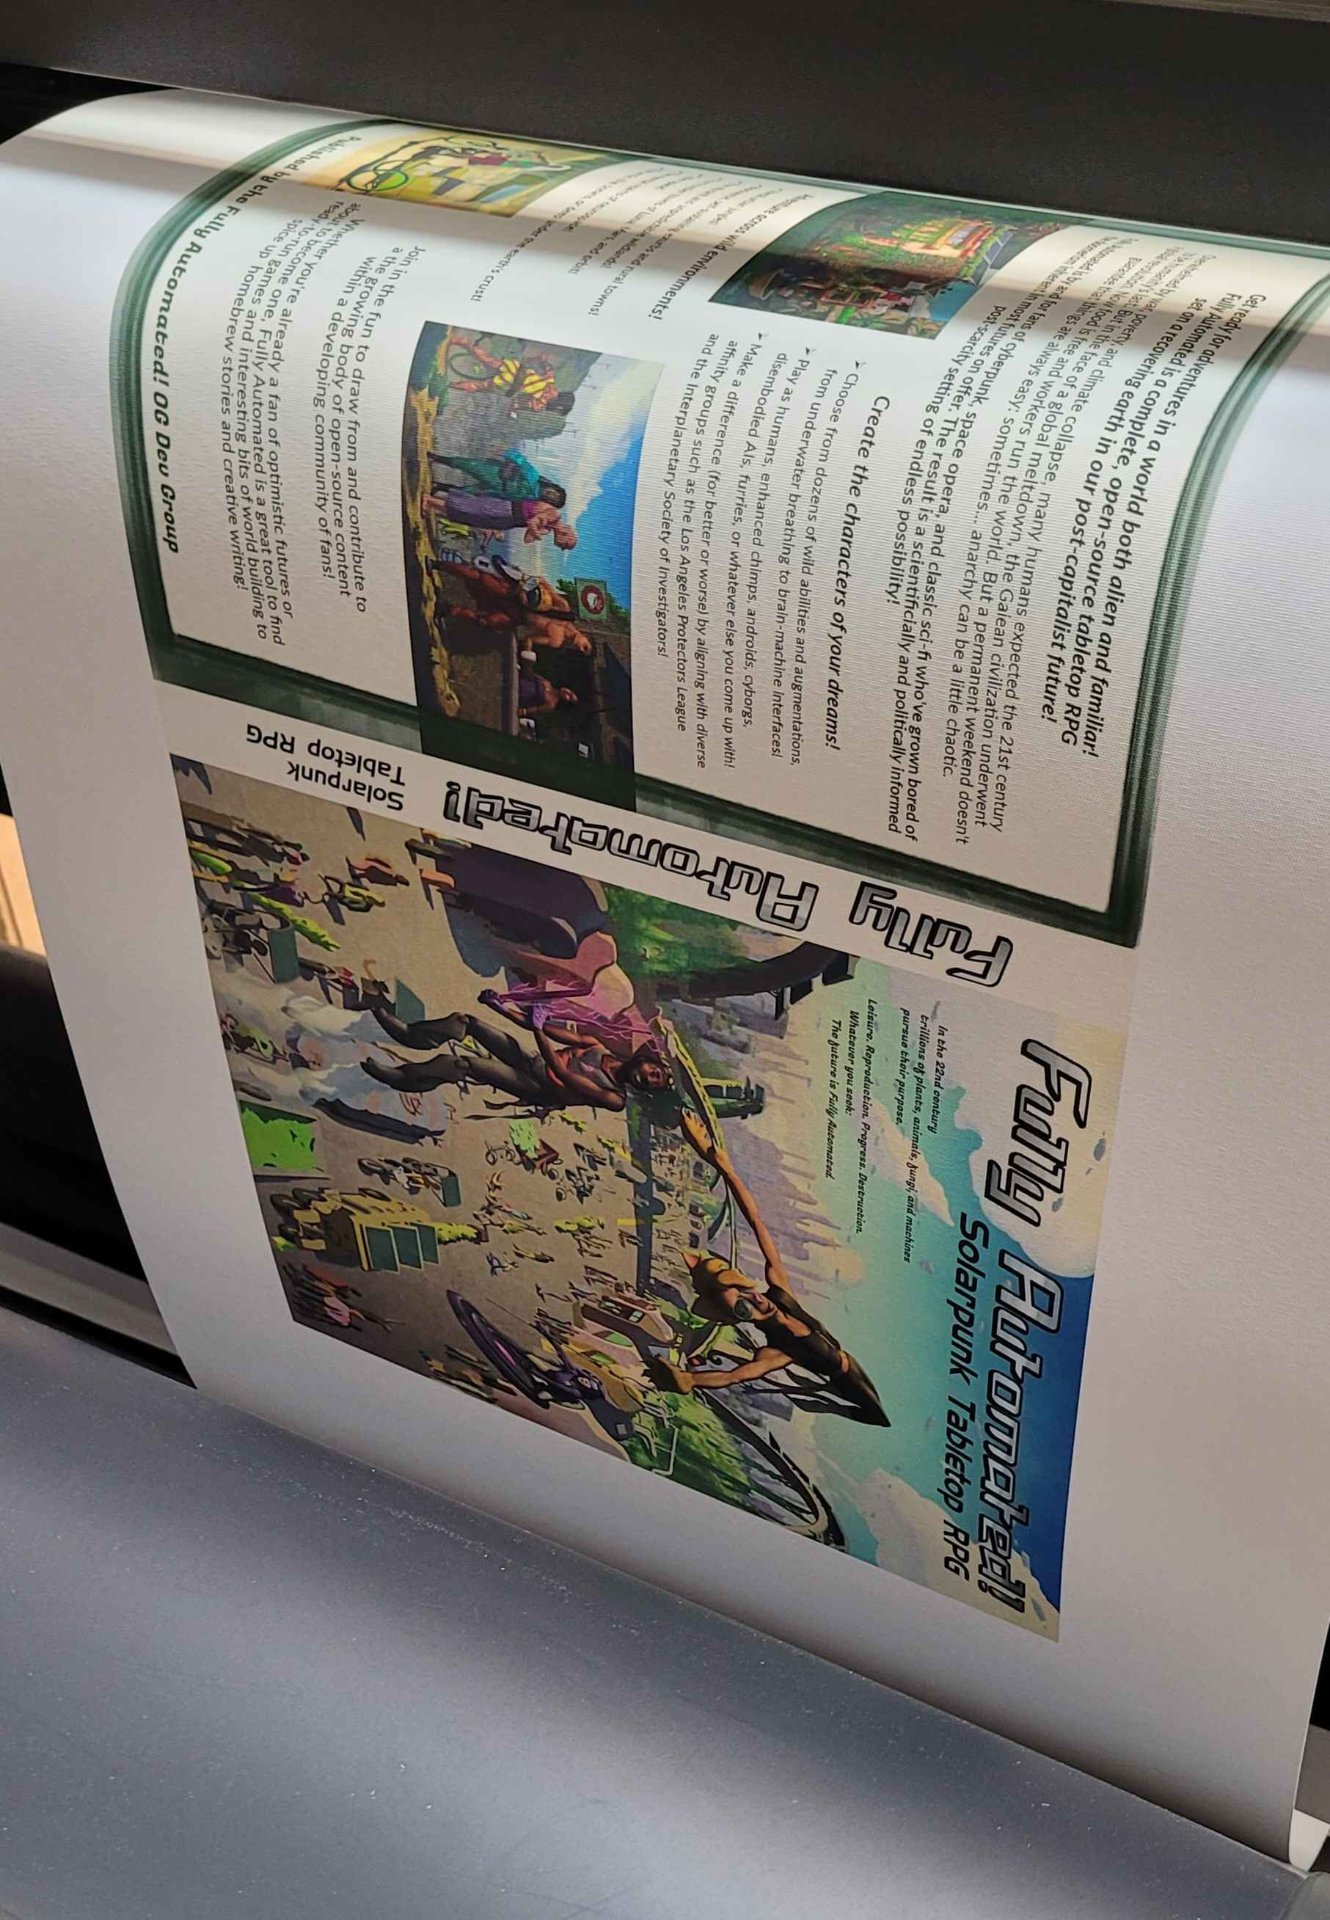
It's slightly large but I'm happy with it!
The next steps came pretty much entirely from this guide.
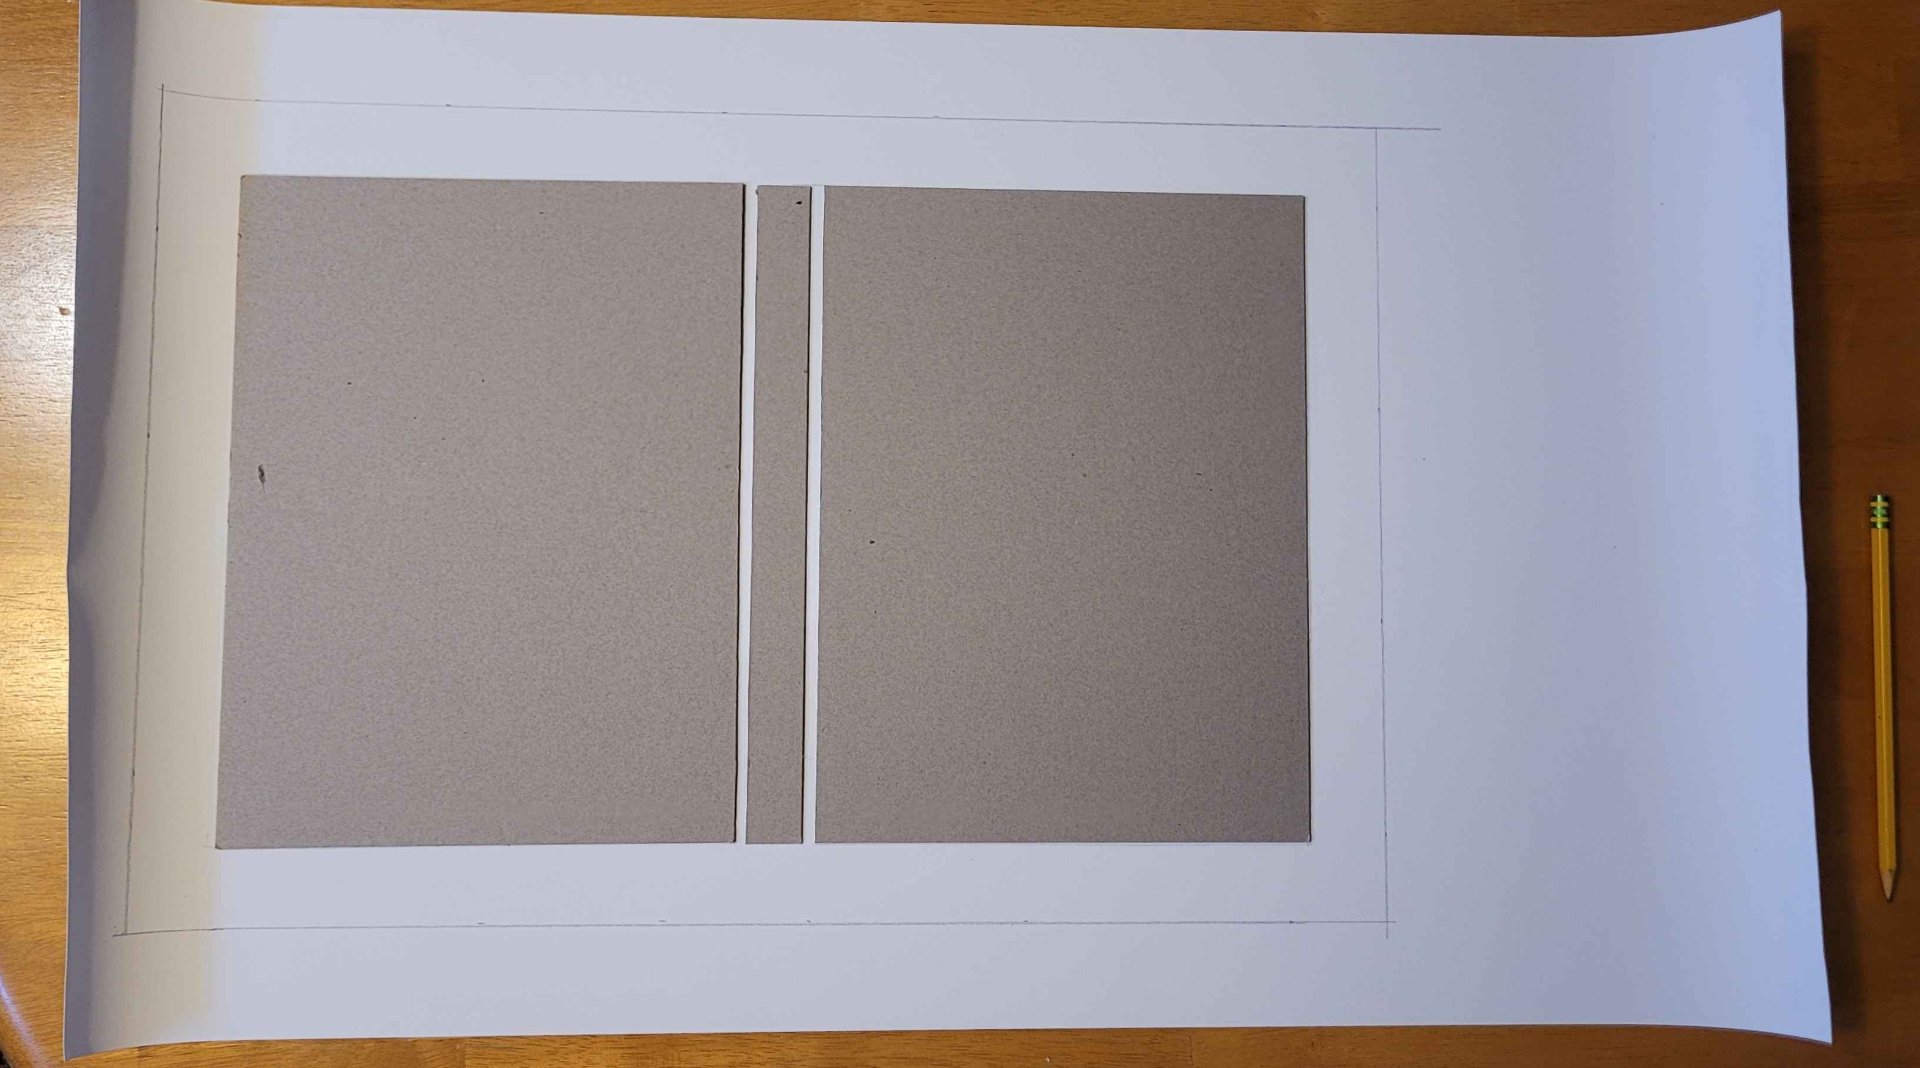
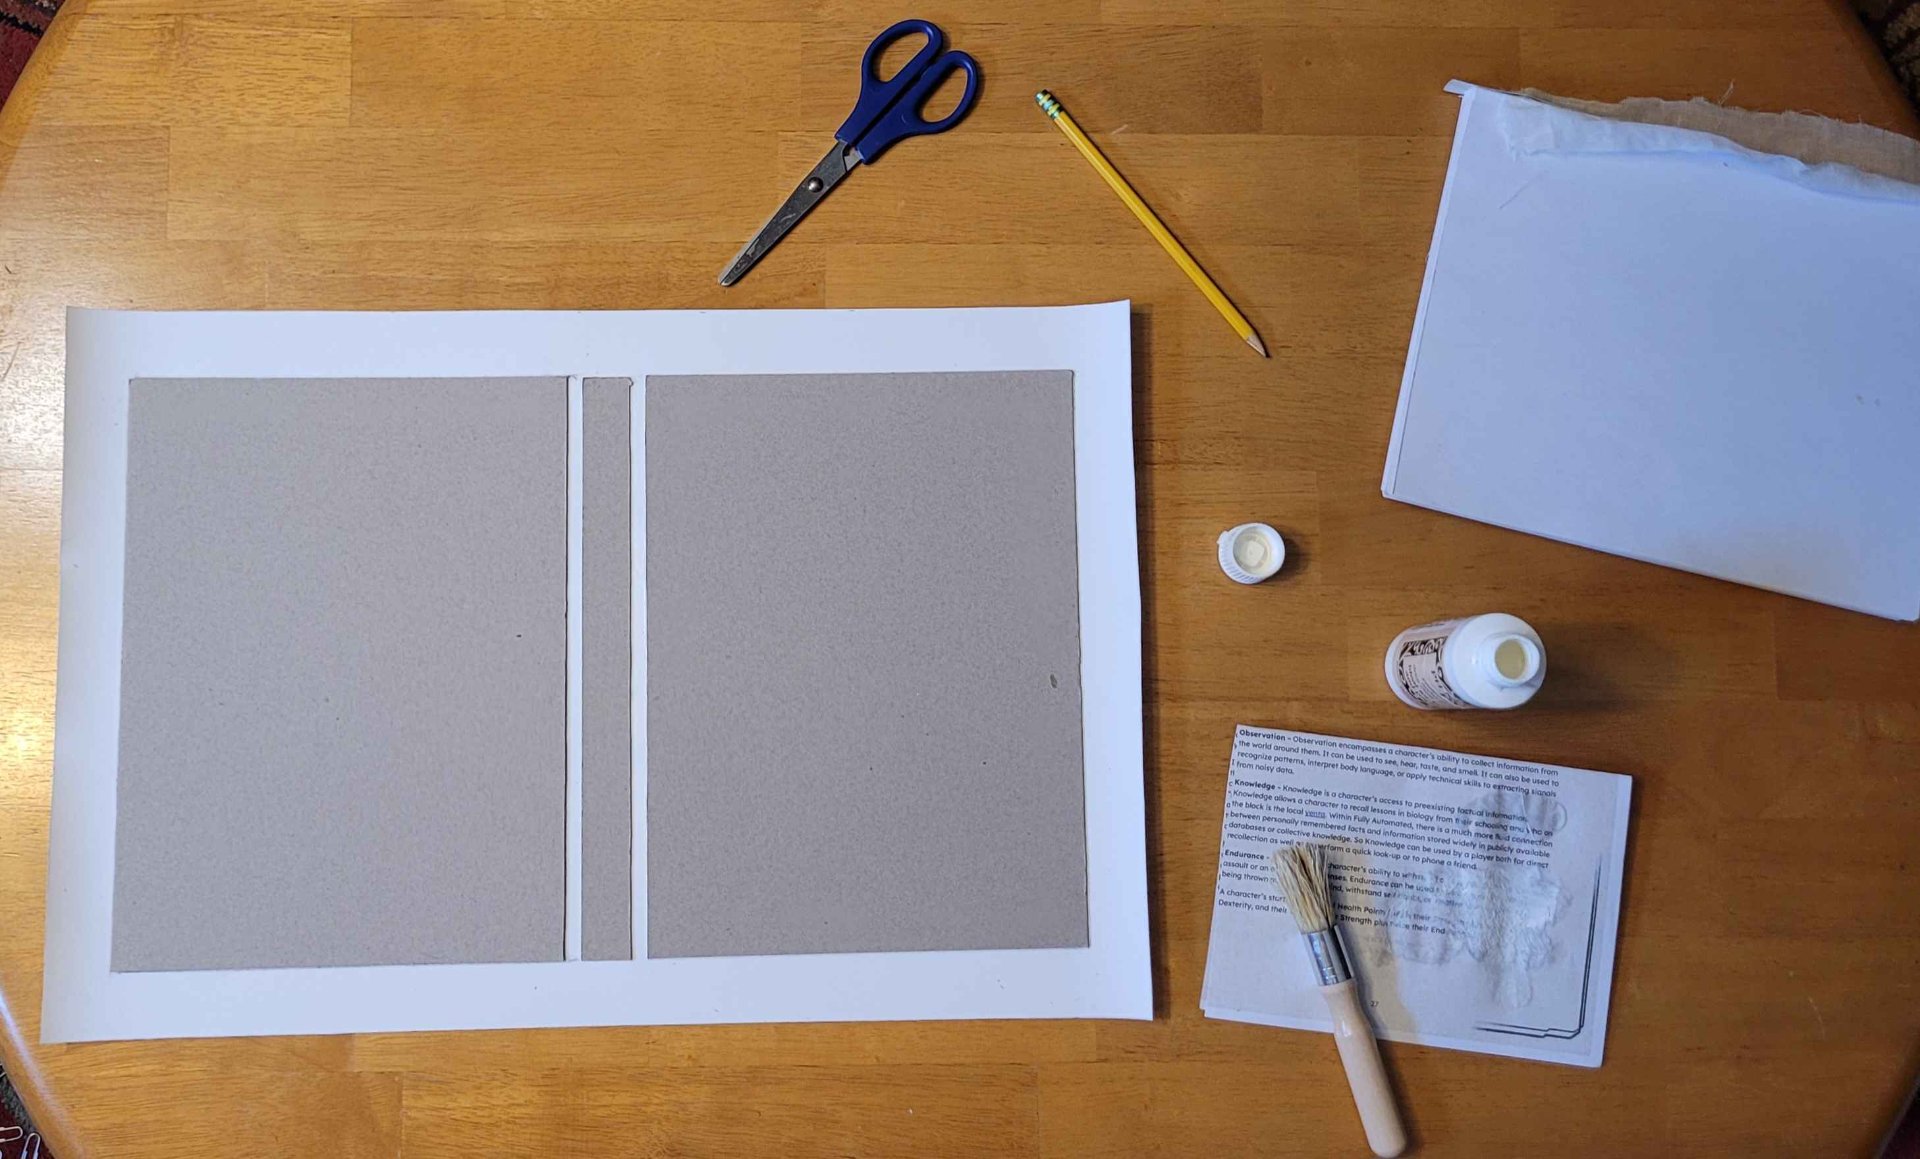
I cut some bookboard (stiff cardboard) to size, and did my best to line it up with the image showing through the canvas. Once I had them in place, I traced them lightly onto the back of the canvas in pencil, held it up to the light to see if it was good, and made corrections until I had good lines. Then I measured out to the edges of the sheet and trimmed it down:
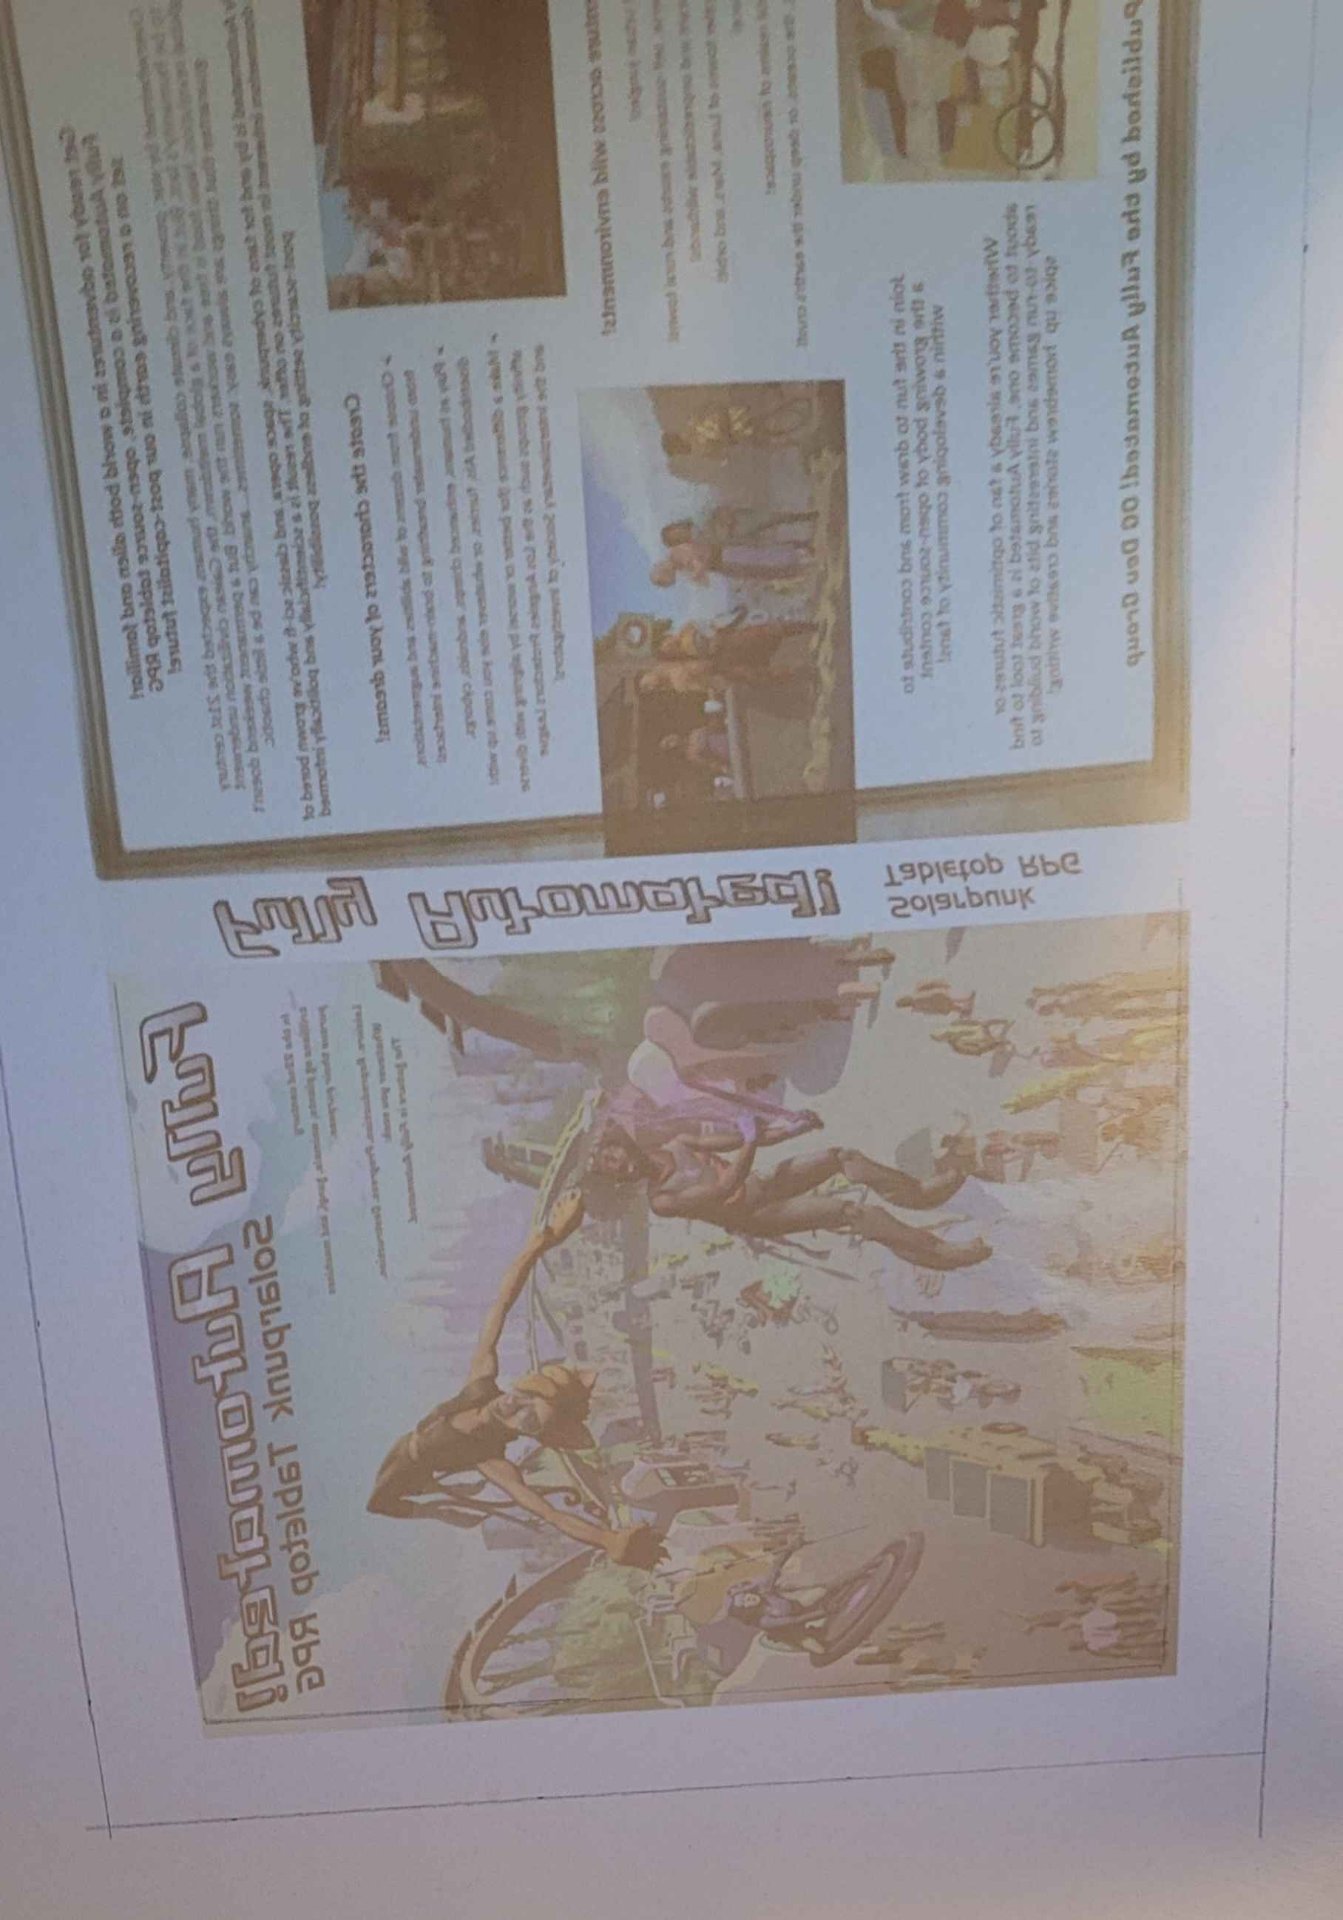

Then I glued the bookboard to the canvas:
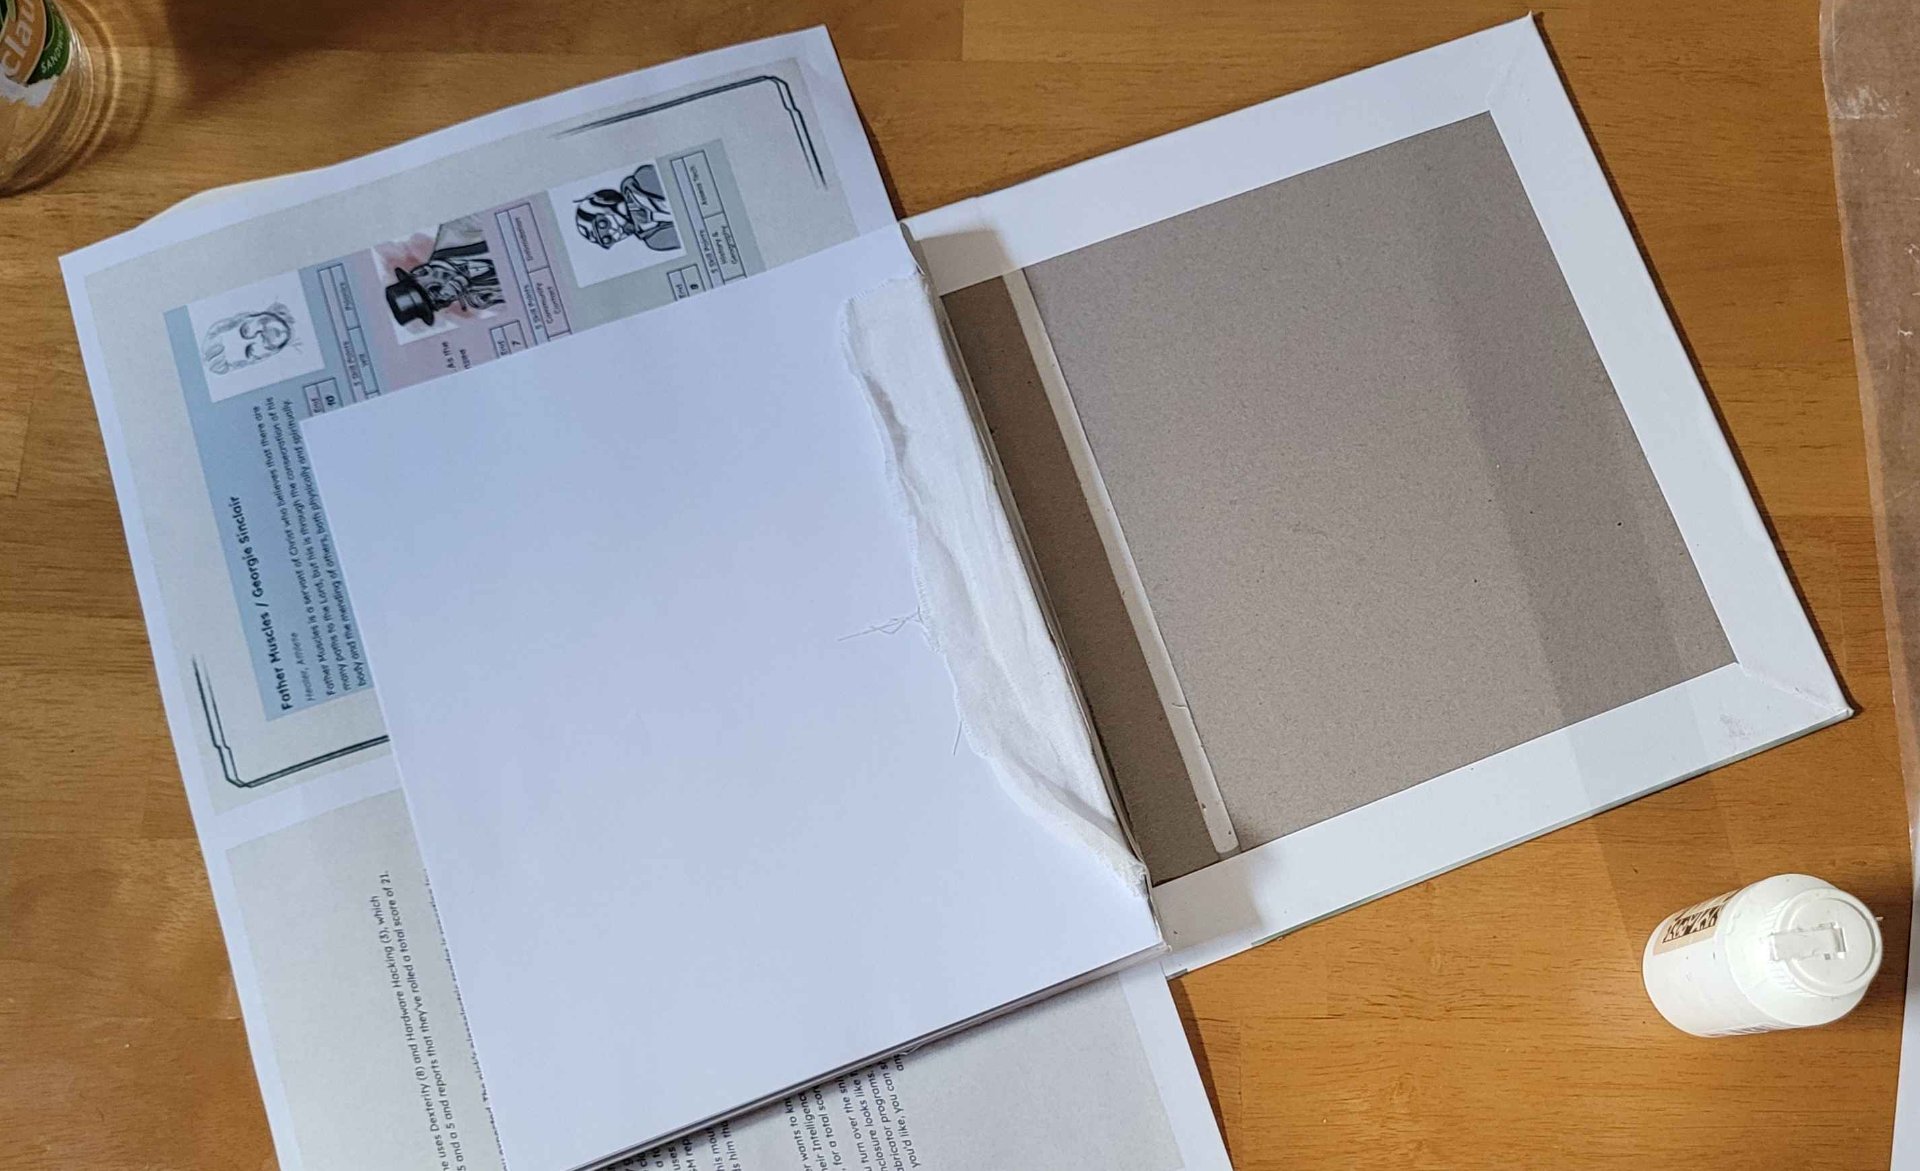
I forgot to take some pictures for the next step (sorry) so you'll have to rely on my descriptions. First I cut the corners off the cover at a 45 degree angle 1/8" out from the corner of the bookboard. I used a carpenter's square to mark the angle. Then I folded the sheets over the bookboard and glued them.
Then it was time to glue the book block into the case. This happened fast enough that I didn't dare stop to take pictures. I slipped some wax paper between the endpaper (a blank sheet I included on front and back when I used the interposing software) and the rest of the book block. Then I painted it with glue as quickly as possible, being careful to first glue the cheesecloth to the paper, then painted it over with glue as well. Then I carefully closed the cover onto the sheet. The endpaper was just about a liquid at that point, despite how lightly I stippled on the glue, so I'm glad I didn't have to try to make changes. I flipped it, and let it dry for awhile.
Then I repeated those steps on the other side and left a heavy laptop sitting on it.
Its always tense waiting while the glue dries on a project, hoping its not clamped crooked, or the glue isn't running and sticking to something it shouldn't. Especially when you're combining the end result of two other projects. Luckily this one turned out mostly okay:
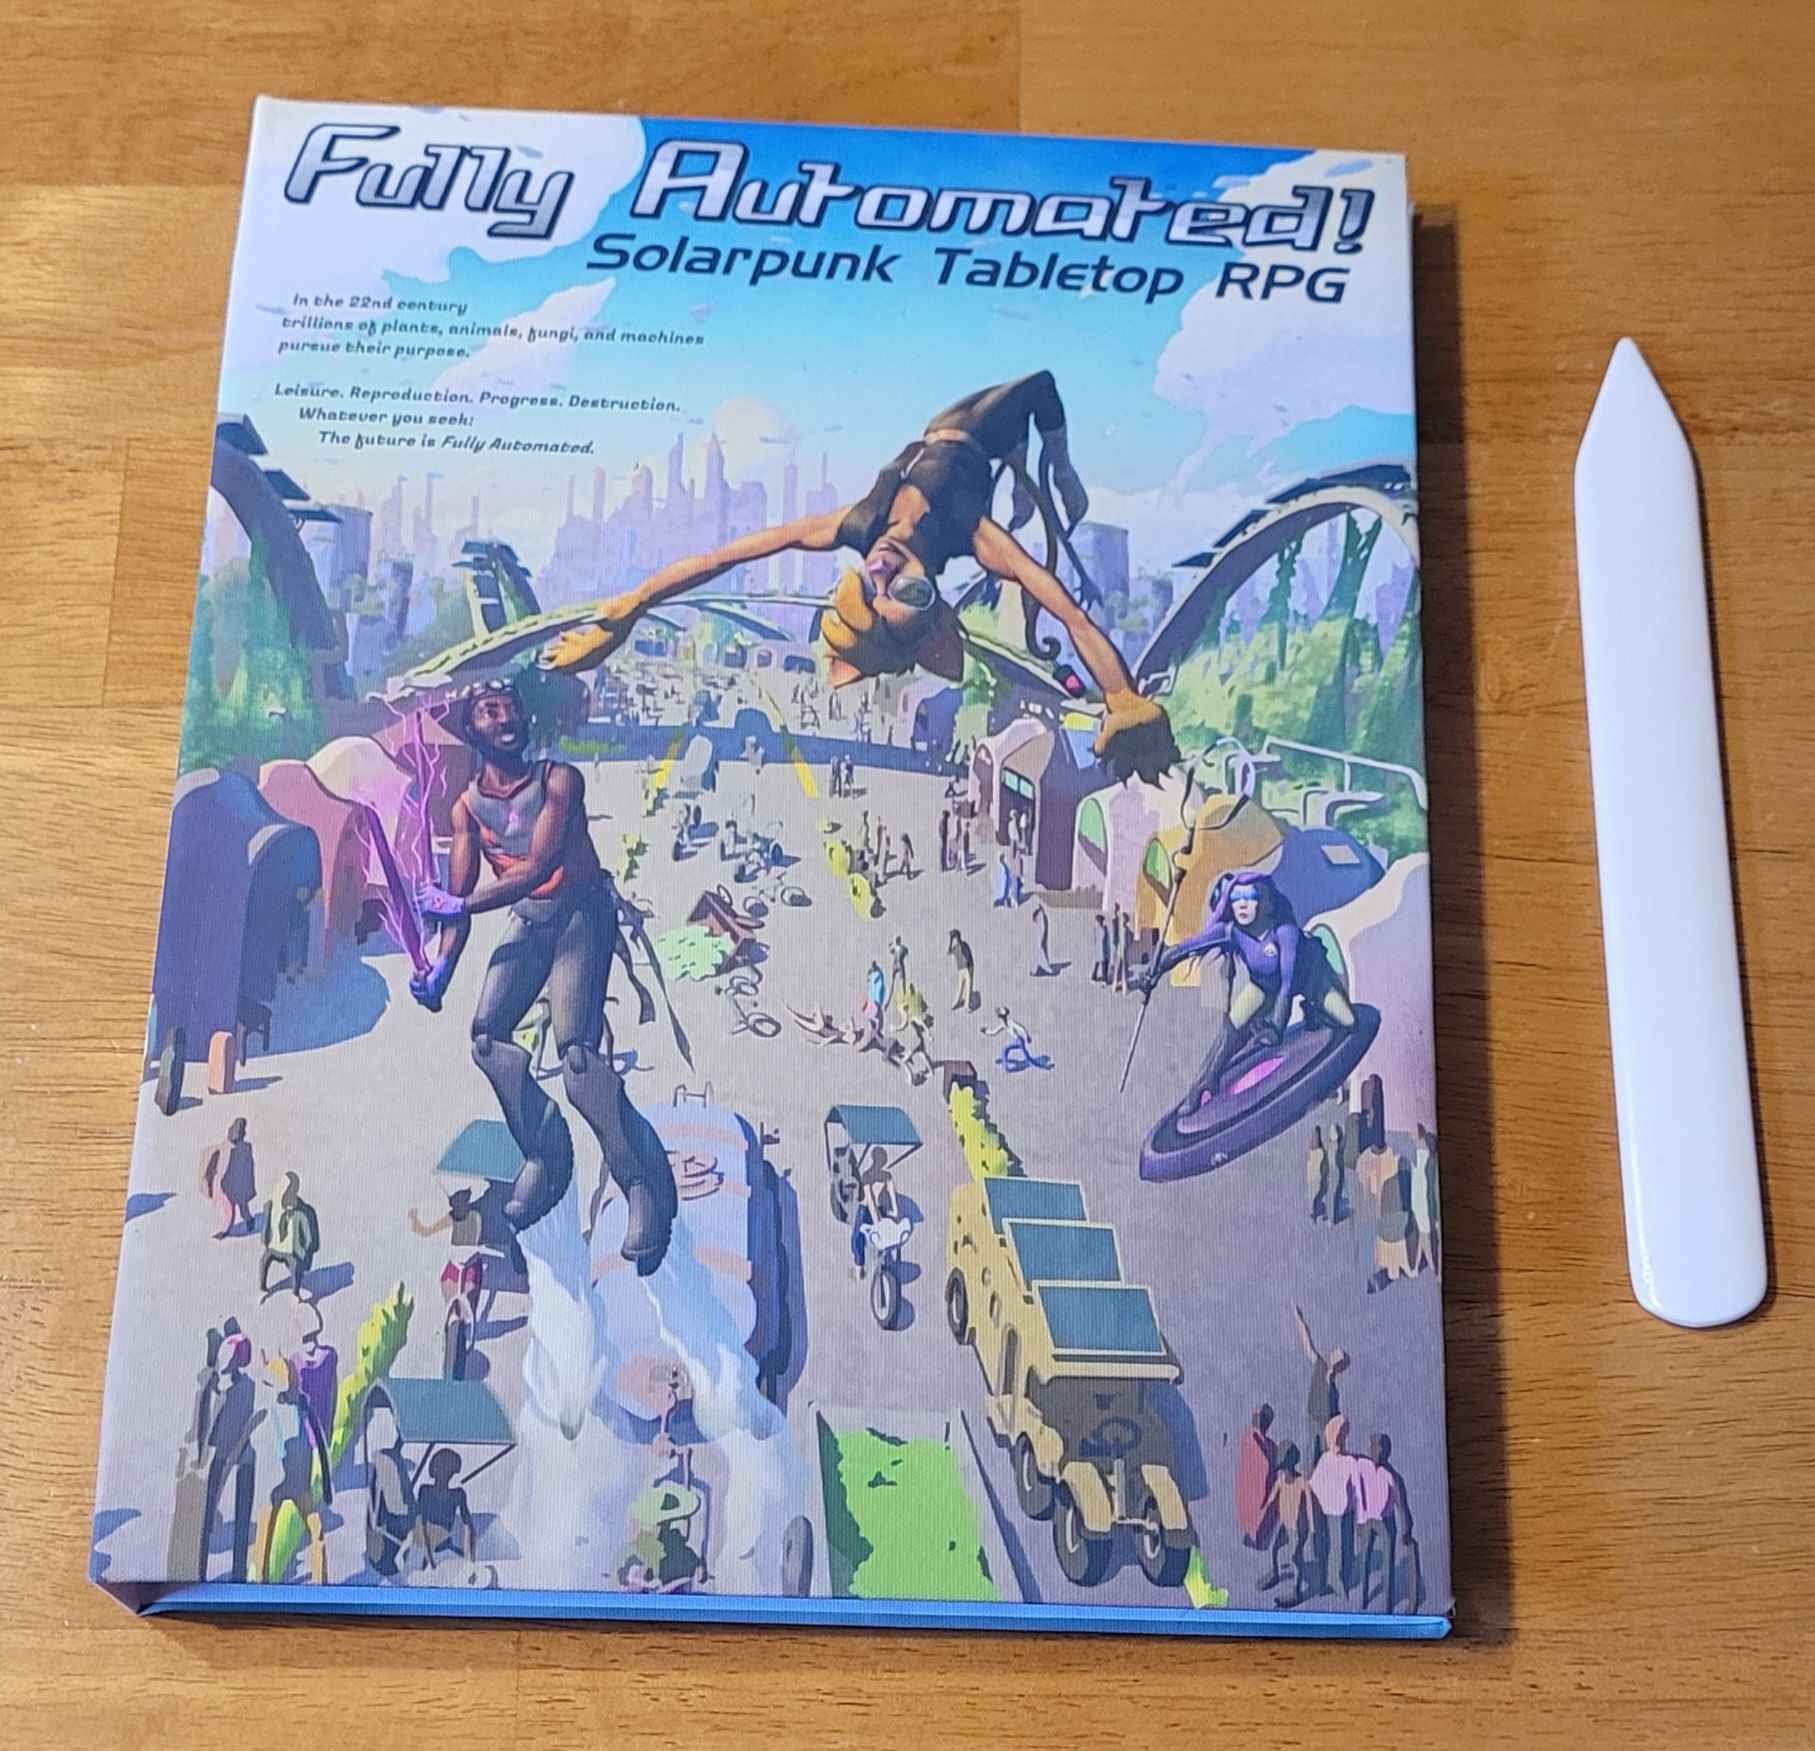
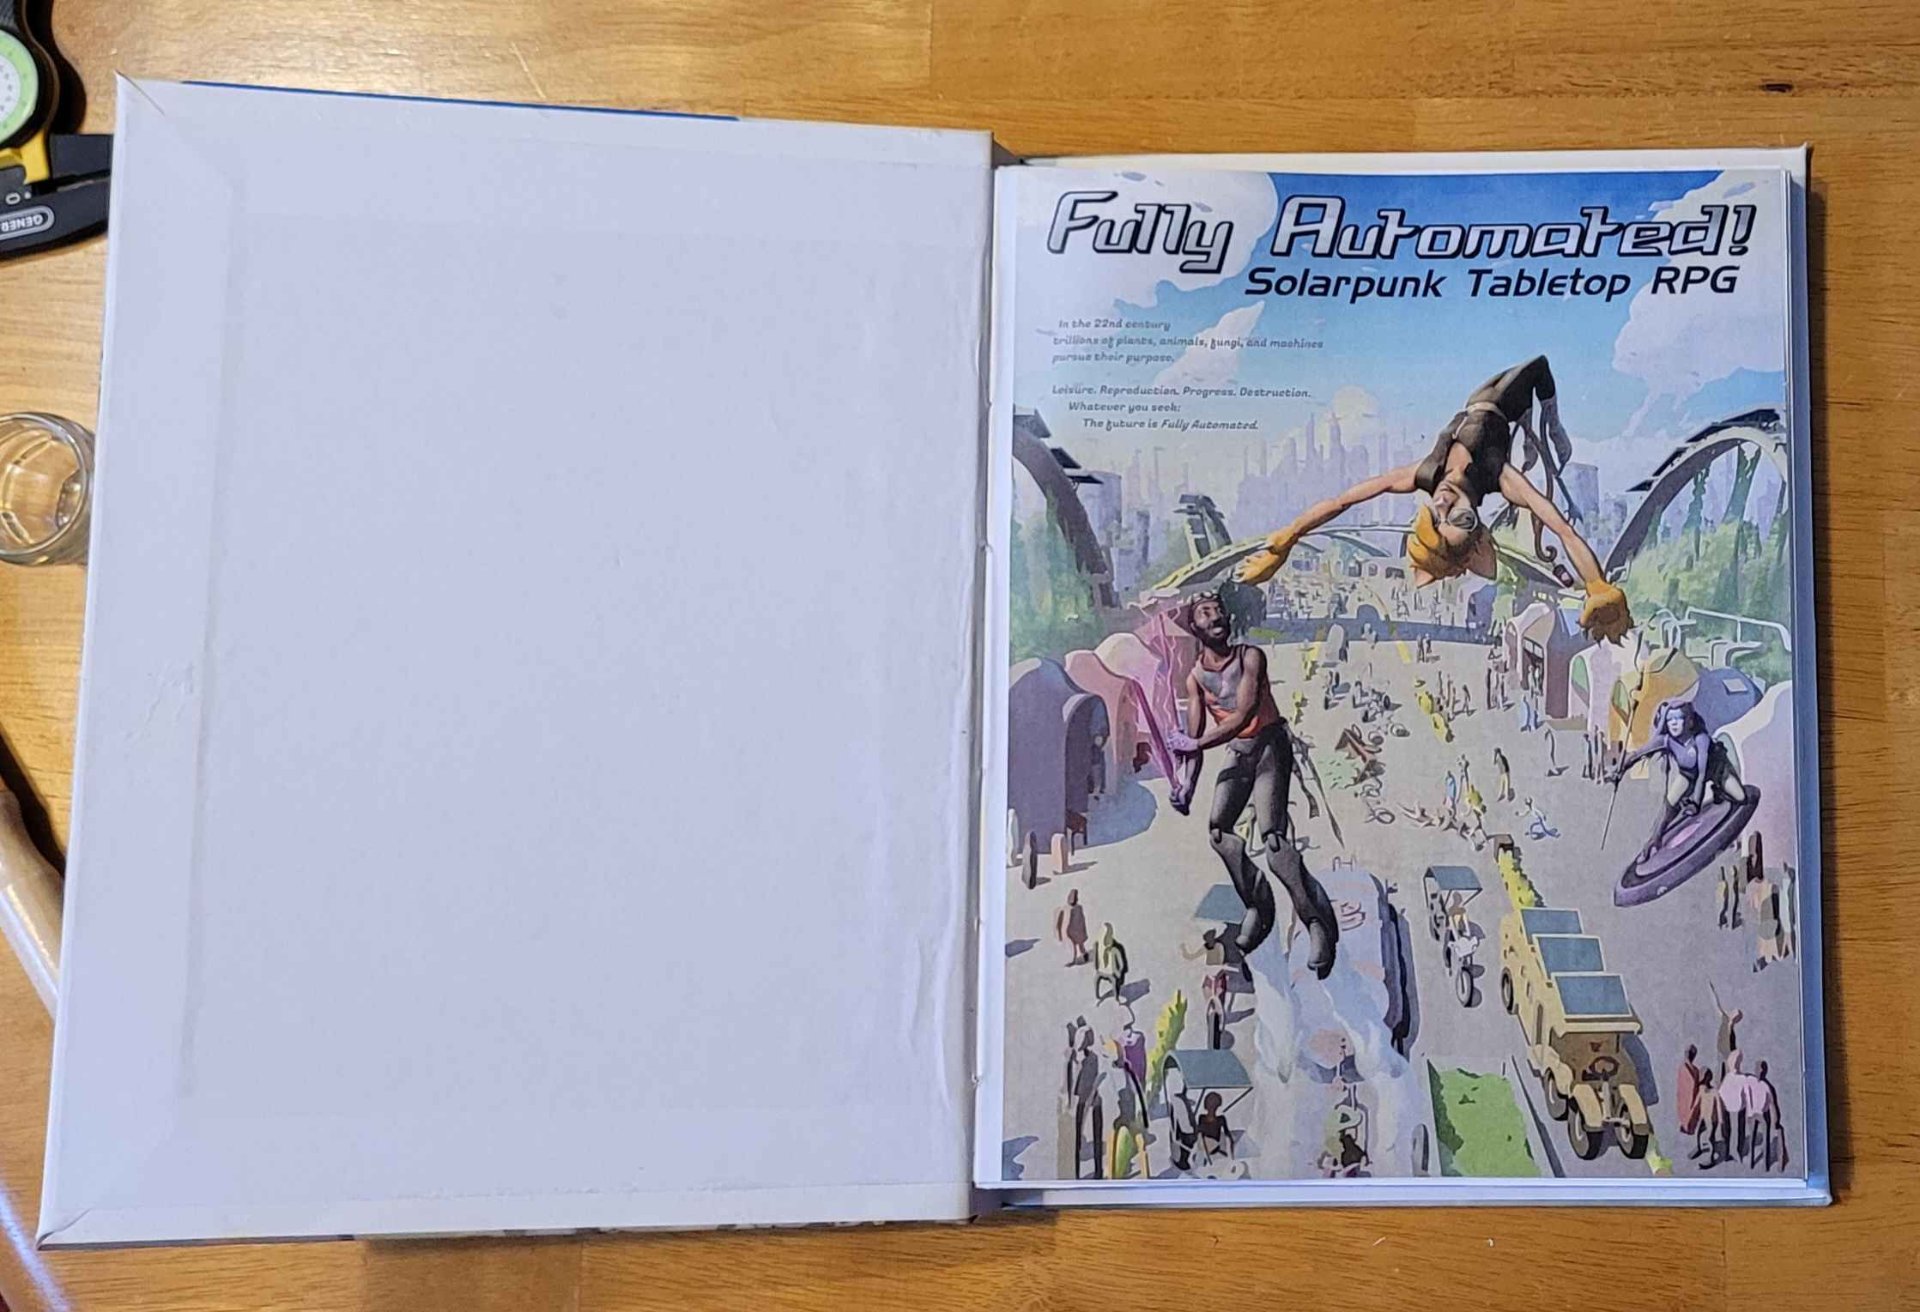
I can see where the endpapers stretched (just like one guide said they would) causing them to reach further towards the fore-edge than I'd have liked. But it generally looks pretty smooth and clean so I'm not very bothered by that.
All in all, I think not bad for my first bookbinding project!
25
view more: next ›