Blender

2 readers
1 users here now

Blender is a suite of tools that allow you to create 3D models, animate, edit videos, create 2D image and animations, and more.

founded 1 year ago
1
1
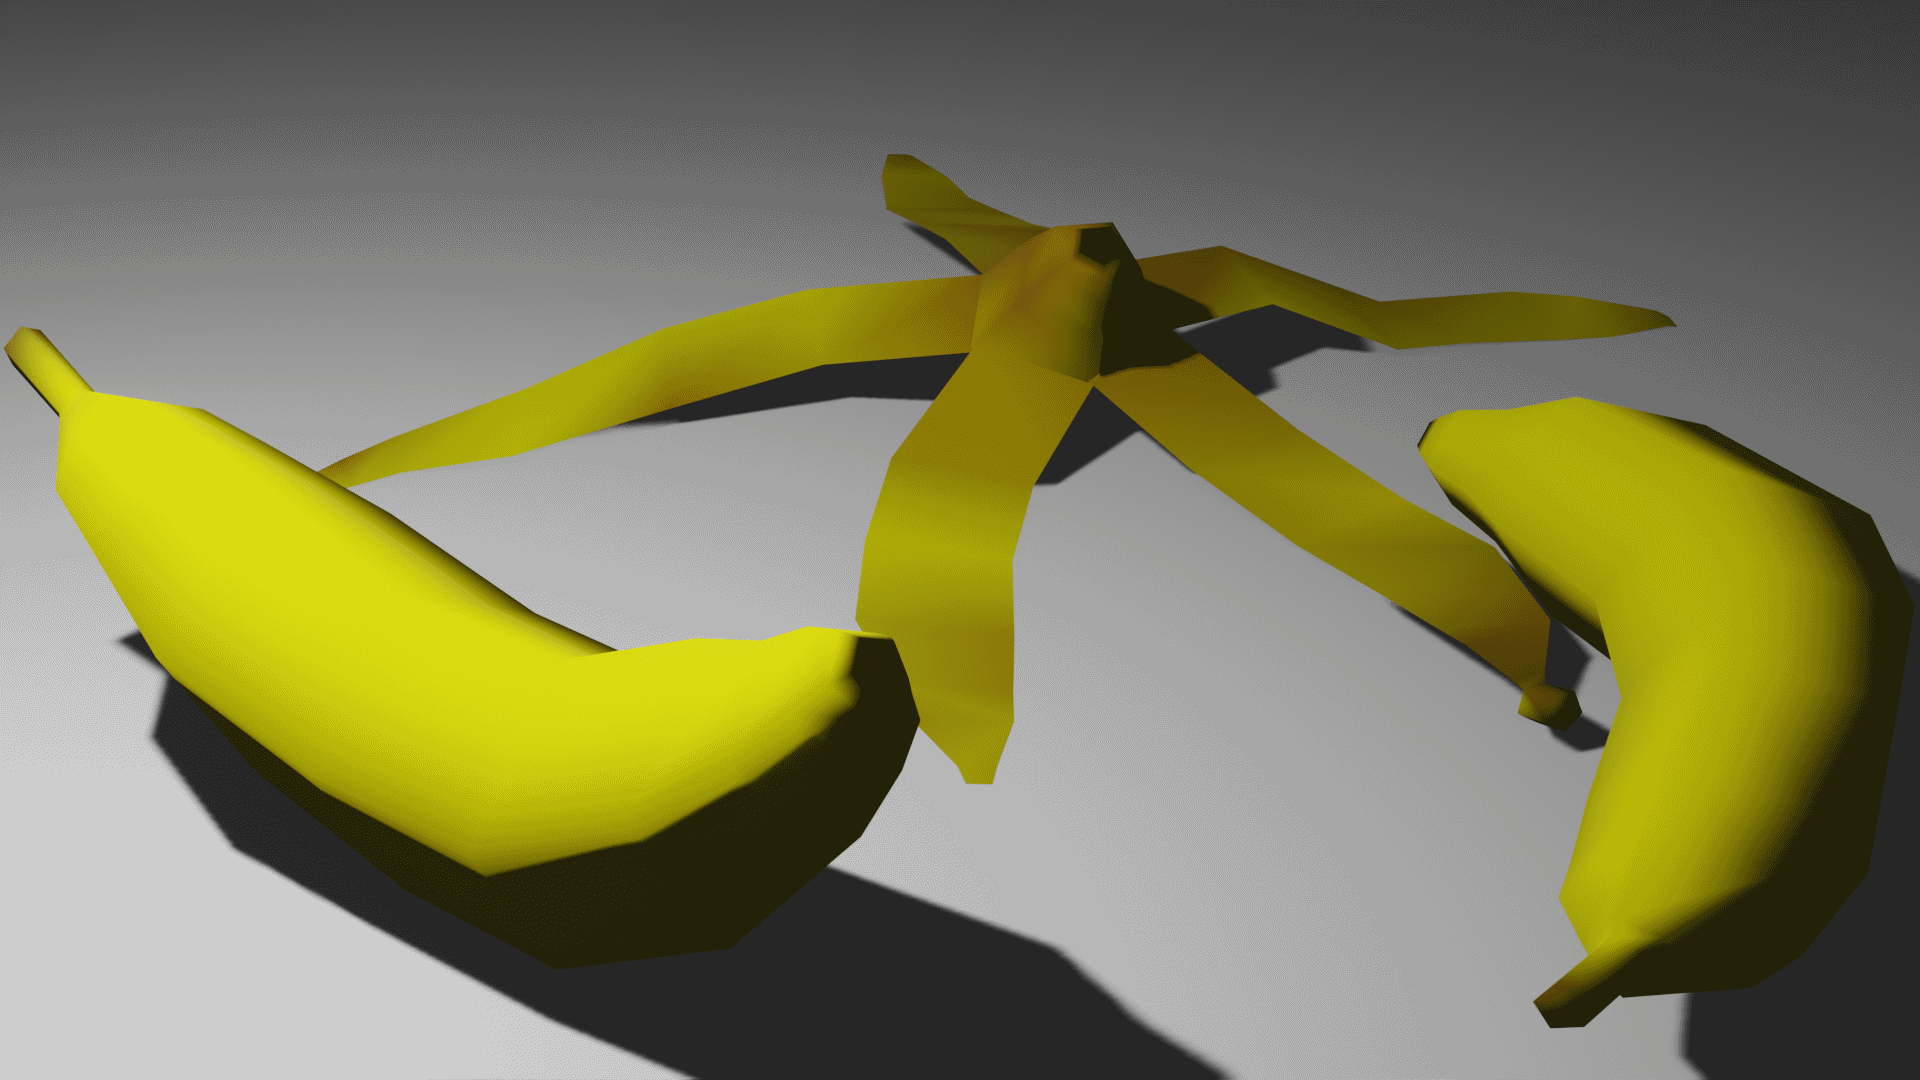
vertex color banana and peel (media.kbin.social)
submitted 7 months ago* (last edited 7 months ago) by insomniac_lemon@kbin.social to c/blender@kbin.social


I'm still at the point where I'm not sure what to make, but already wishing there was a way to have a color attribute (and material set up to use it+higher roughness) for newly added objects.

Well, that and it would be nice if I could have vertex paint editor automatically swap the rendering mode to solid (with object mode using whatever is set) considering I can have that set to color attribute with less lighting(/flat shading).

This one doesn't actually have much design when it comes to vertex colors, most of it is in the brown peel. But it was quick to make. Used proportional editing at the start, separated it for the peels. After basic rotation with a moved origin, flattening the peel arms was a bit weird and I didn't see anything better than doing it manually but it's not like it needs to be perfect.

Previous thread on !ps1graphics for more context (and a few other Blender questions, context-specific comments). Kbin link.

2
3
4
 
 
5


Ian Hubert does it again... I had no idea that IK was that easy to setup. He demos it with a really cool robotic arm at the end.

Though shorts can be annoying because you can't scrub, so here's the breakdown version that includes some of the stuff he doesn't specifically say:

Basic Setup

  • Add a Single Bone, go into Edit Mode, select the end point of the bone, press 'E' to extrude. Repeat a few times to make an arm.
  • Switch to the Cursor tool, click just below the arm and create another bone that will act as the control bone. (Shift + A)
  • Switch back to the Tweak/Select tool, select the control bone and rotate it so that it's horizontal.
  • Switch over to Pose Mode, make sure the control bone is selected, then Shift + Select the bottom bone of the arm so you have two bones selected. Press Shift + I, then 'To Active Bone.'
  • Now moving the control bone gives you a snazzy IK Arm.

Parenting IKs

  • Switch over to Edit Mode, select all the bones of the armature, duplicate it (Shift + D) then rotate and scale it down to fit within the larger armature. (You can duplicate in a different mode, but make sure you use CTRL + J to join the armatures into one before the next step)
  • Still in Edit Mode, Shift + Select the top bone of the smaller armature and the top bone of the larger armature, press CTRL + P, then 'Keep Offset,' then Shift + Select the control bone of the smaller armature and the bottom bone of the larger armature and do the same.
  • Go to Pose Mode, select the bottom bone of the small armature, click into 'Bone Constraints Properties' tab in the properties panel, make sure the 'Chain Length' is set to something higher than 0.
  • Now try moving the control bone of the large armature - you'll see it also moves the parented armatures... super cool.
  • In the tutorial, Ian also shows adding additional constraints, such as a rotation constraint, so that the robot arm is locked to certain movements.
6


This video demonstrates a dude developing cool 3d scenes in Blender that can be made from static screenshots.

7
 
 
8


Blender Foundation and the online developers community proudly present Blender 3.6 LTS!

9
10